Creating your own solid wood shelves can be a rewarding project that not only enhances your living space but also allows you to showcase your craftsmanship. This guide will walk you through the steps of designing, building, and finishing your shelves, ensuring they are both functional and aesthetically pleasing. With the right tools and a little patience, you can create beautiful wooden shelves that will last for years to come.
Why Choose Solid Wood for Your Shelves?
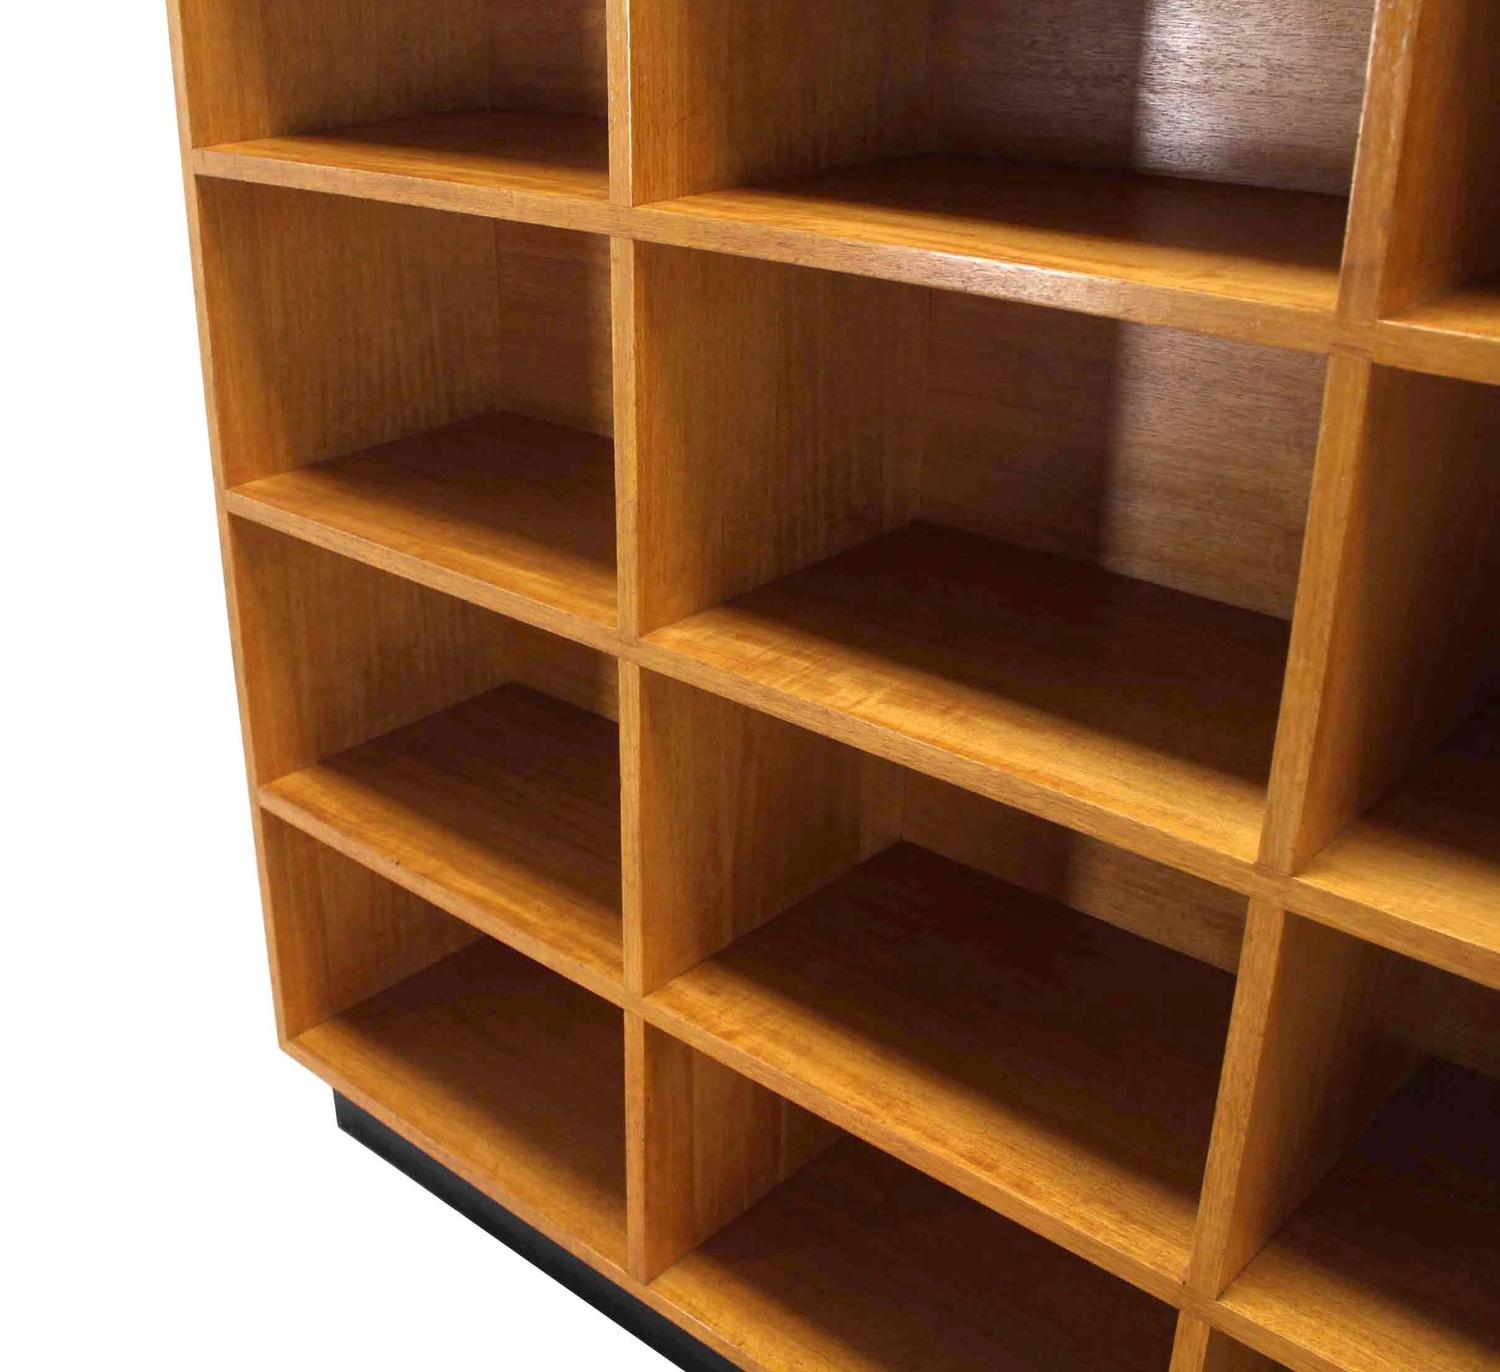
When it comes to shelving, the material you choose can greatly affect the durability, appearance, and overall quality of your project. Here are some compelling reasons to opt for solid wood:
- Durability: Solid wood shelves can withstand heavy loads and resist wear over time.
- Aesthetic Appeal: Wood offers a timeless look that can match any décor, from rustic to modern.
- Customizability: You can choose the type of wood, finish, and design to fit your personal style.
- Environmental Considerations: Sustainable wood sourcing can be a more eco-friendly option compared to manufactured materials.
Planning Your Project
Before you start cutting and assembling, it’s essential to plan your shelving project carefully. Here are the key steps to consider:
1. Determine Your Needs
Think about what you will store on the shelves. This will influence the size, strength, and design of your shelves. Ask yourself:
- What weight will the shelves need to support?
- What dimensions will fit best in your space?
- What style do you envision for your shelves?
2. Choose Your Wood
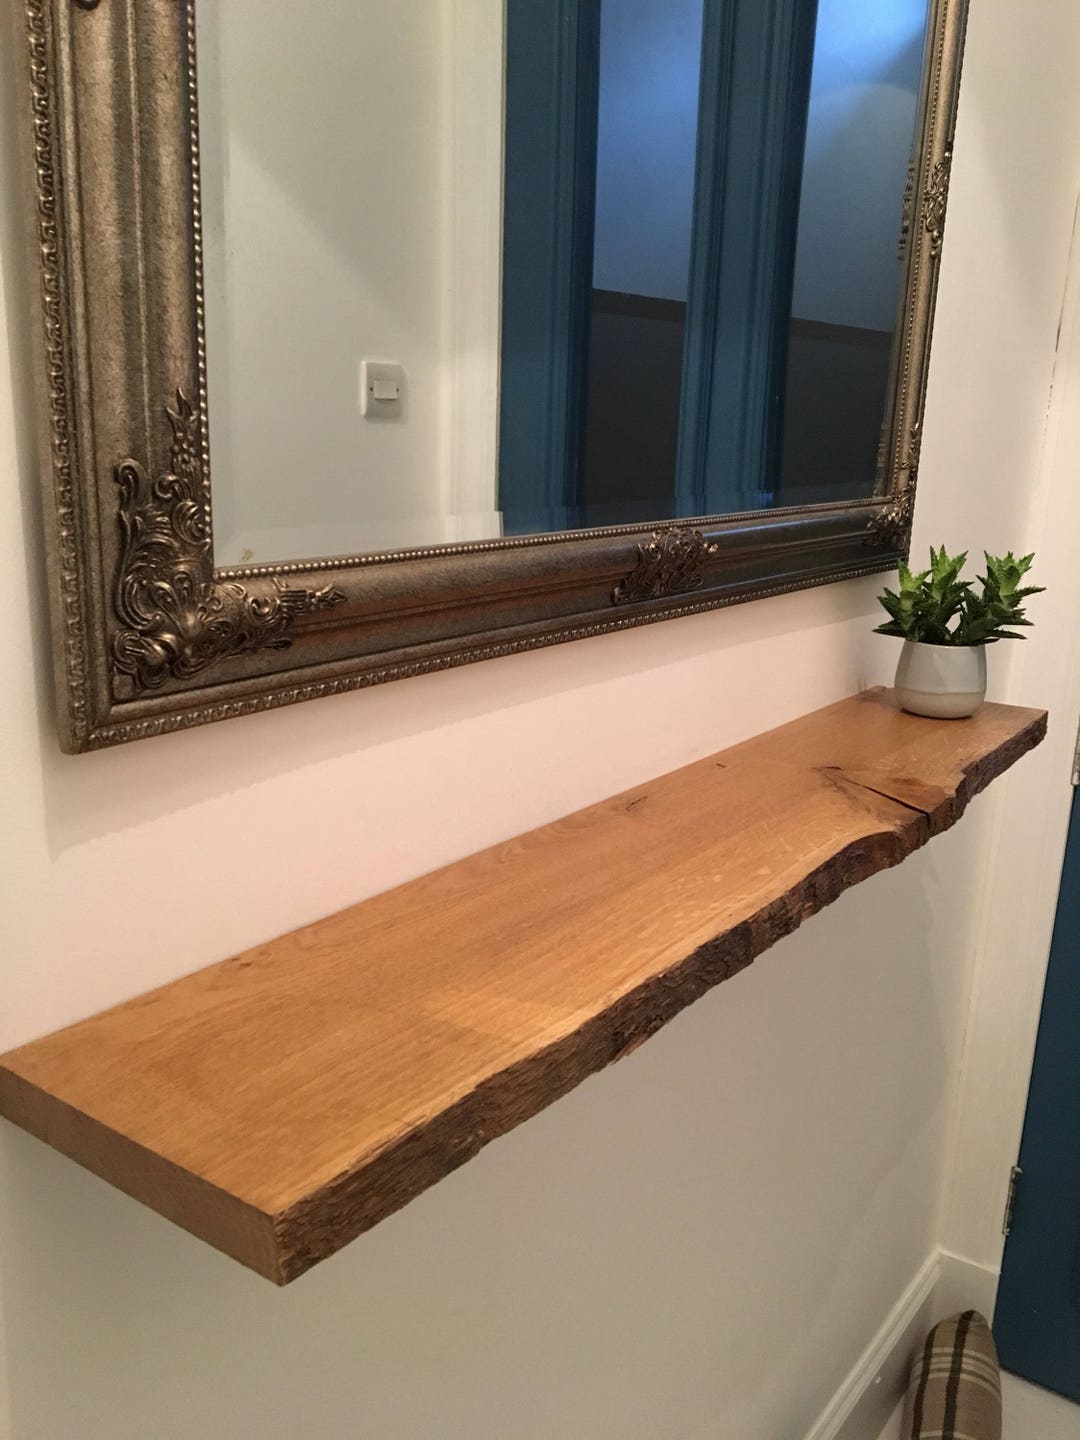
Different types of wood have different properties. Common choices for DIY shelves include:
- Pine: Affordable and easy to work with, but softer and may dent easily.
- Oak: Hard and durable, with beautiful grain patterns; perfect for heavier loads.
- Maple: Known for its strength and fine grain, making it a great choice for modern aesthetics.
- Walnut: A premium option with rich color and grain, ideal for high-end projects.
3. Design Your Shelves
Sketch out your design, including the dimensions and layout. Consider the following:
- Number of shelves: How many shelves do you want, and how far apart should they be?
- Support structure: Will you use brackets, floating designs, or built-in supports?
- Finish: What type of stain or paint will you use to enhance the wood’s appearance?
Gathering Tools and Materials
Once you have your plan in place, gather the necessary tools and materials. Here’s a basic list to get you started:
- Tools:
- Measuring tape
- Level
- Square
- Circular saw or hand saw
- Drill and drill bits
- Screwdriver
- Sanding block or power sander
- Clamps
- Materials:
- Solid wood boards (choose your preferred type)
- Wood screws
- Brackets or mounting hardware (if applicable)
- Wood glue (optional, for added stability)
- Wood finish (stain or paint)
- Sealer (optional, to protect the finish)
Building Your Solid Wood Shelves
Now that you are prepared, it’s time to start building your shelves. Follow these steps for a successful project:
Step 1: Measure and Cut the Wood

Using your measurements from the planning stage, carefully mark and cut your wood. Make sure to:
- Use a straight edge to ensure clean cuts.
- Measure twice, cut once to avoid mistakes.
- Wear safety goggles when using power tools.
Step 2: Sand the Edges

Once your pieces are cut, sand the edges and surfaces to remove any rough spots. This not only improves the appearance but also prepares the wood for finishing.
Step 3: Assemble the Shelves
Depending on your design, you may need to assemble the shelves in different ways:
- If using brackets, install them according to the manufacturer’s instructions and secure the shelves.
- For floating shelves, attach the mounting hardware to the wall first, ensuring they are level and securely fastened.
- For built-in designs, position the shelves in their designated spots and attach them to the supports.
Step 4: Finish the Wood
Apply your chosen finish to protect the wood and enhance its appearance. Consider the following:
- Stains can add color while showcasing the wood grain.
- Paint provides a uniform color but may hide some grain characteristics.
- Sealants can protect against moisture and wear.
Installation Tips

Proper installation is crucial for the longevity and safety of your shelves. Here are some tips:
- Use a level to ensure your shelves are straight.
- Anchor to studs in the wall whenever possible for maximum support.
- Consider the weight of items to be placed on the shelves when determining spacing and support.
Case Study: A Successful DIY Shelf Project
Consider the case of Jane, a DIY enthusiast who transformed her living room with custom solid wood shelves. She opted for oak, which provided both strength and visual appeal. By following the steps outlined in this guide, she:
- Designed shelves to fit her space perfectly.
- Used brackets for support, ensuring they could hold her extensive book collection.
- Finished the shelves with a natural oil, enhancing the wood grain without overwhelming it.
After installation, Jane noted that the shelves not only improved her room’s aesthetics but also became a focal point for guests, showcasing her artistic taste and craftsmanship.
Building your own solid wood shelves from scratch is an achievable and satisfying project that can significantly enhance your home. By carefully planning your design, selecting the right materials, and employing proper construction techniques, you can create beautiful, functional shelves that meet your needs. Remember to take your time during each step, from measuring and cutting to finishing and installing, to ensure the best possible outcome. With a little effort and creativity, you’ll have shelves that not only serve a practical purpose but also reflect your personal style and craftsmanship for years to come.