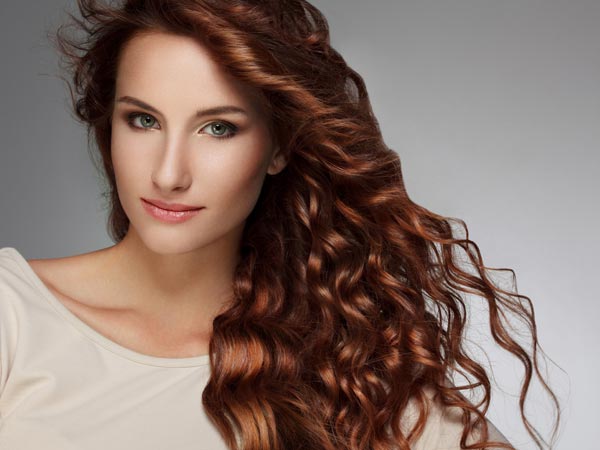
The allure of pearlescent hair – those subtle, shimmering tones that catch the light with an almost ethereal glow – has captivated beauty enthusiasts for years. Once the exclusive domain of high-end salons, achieving this sought-after hair color is now within reach for the at-home DIYer. With the right knowledge, careful preparation, and a dash of courage, you can transform your locks into a radiant masterpiece, saving both time and money. This comprehensive guide will equip you with the essential tips and tricks to achieve salon-quality pearl tint results in the comfort of your own home.
Understanding the Magic of Pearl Tint
Pearl tinting isn’t about a dramatic, opaque color change. Instead, it’s about adding a translucent, iridescent sheen over your existing base color. This effect is achieved through a combination of undertones, often involving cool, muted shades like ash blonde, lavender, silver, or even soft pastels, mixed with a developer to create a semi-permanent or demi-permanent color. The “pearl” effect comes from the light reflecting off these fine, translucent pigment particles, creating a soft, luminous glow rather than a solid block of color.
The success of a pearl tint heavily relies on your starting hair color. For the most vibrant and true-to-tone results, a pre-lightened base is often necessary. Lighter natural hair colors will showcase pearl tones more readily, while darker hair may require significant lightening to achieve the desired effect. Think of it like painting on a canvas: a lighter, primed surface will allow the colors to pop and blend more beautifully.
The Science Behind the Shine: Pigments and Developers
At the heart of pearl tinting lies the interaction between hair pigments and the coloring agent. Hair color pigments are essentially dyes that deposit onto or penetrate the hair shaft. Pearl tints typically utilize a blend of specific dye molecules designed to create that coveted iridescent effect. These are often demi-permanent or semi-permanent formulas, meaning they coat the outer layer of the hair shaft or deposit color without permanently altering the hair’s structure. This makes them less damaging and more forgiving for home application.
The developer, on the other hand, is crucial for opening the hair cuticle and allowing the color to penetrate. For pearl tints, lower volume developers (typically 10 or 20 volume) are generally preferred. This is because they offer a gentler lift and less potential for damage compared to higher volume developers, which are used for significant lightening. The goal with pearl tinting is not to drastically change the base color but to deposit a subtle hue and shine. Over-processing with a high-volume developer can lead to brassiness and breakage, undermining the delicate pearl effect.
Pre-Application Essentials: Laying the Foundation for Success

Rushing into a DIY hair color application is a recipe for disappointment. Thorough preparation is paramount to achieving a professional-looking pearl tint. This stage sets the stage for even application, optimal color uptake, and the overall health of your hair.
1. Assess Your Current Hair Color and Condition
This is the most critical first step. Is your hair currently light enough for the desired pearl shade? Dark hair will likely need to be lightened. If your hair is already colored, especially with dark or vibrant shades, be aware that the pearl tint may not show up as expected or could result in an unpredictable tone. Consider a strand test (more on that later) to gauge the outcome.
Beyond color, assess your hair’s condition. Is it dry, brittle, or damaged? Pearl tinting, while generally less harsh than permanent dyes, still involves chemicals. Healthy hair will absorb color more evenly and maintain its integrity. If your hair is compromised, prioritize a deep conditioning regimen for several weeks before attempting to color.
2. Choose the Right Pearl Tint Shade
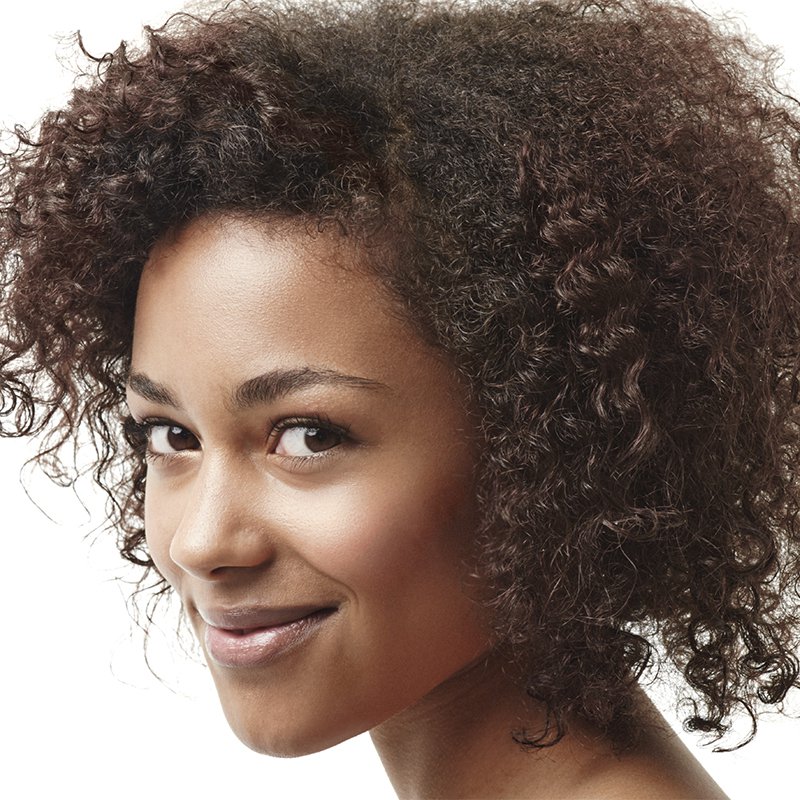
Pearl tints come in a spectrum of beautiful shades. Consider your skin tone when making your selection.
- Cool-toned complexions often look stunning with ash blonde, silver, or lavender-based pearl tints.
- Warm-toned complexions can be beautifully complemented by rose gold, champagne, or peachy pearl tones.
- Neutral complexions have the most flexibility and can experiment with a wider range of shades.
Do your research! Look at swatches, read reviews, and consider purchasing a reputable brand known for its quality. Brands like Manic Panic, Arctic Fox, Wella, and L’Oréal offer various semi-permanent and demi-permanent options that can be mixed to achieve custom pearl tones.
3. Gather Your Supplies
Having everything ready before you start mixing ensures a smooth process. Essential supplies include:
- Your chosen pearl tint color(s)
- Appropriate developer (usually 10 or 20 volume for pearl tints)
- Non-metallic mixing bowl
- Non-metallic applicator brush
- Gloves (to protect your hands)
- Old clothing or a color-protecting cape
- Petroleum jelly or a thick barrier cream (to protect your hairline and ears)
- Hair clips or sectioning clips
- A timer
- A mirror
- A comb
- A color-removing shampoo (optional, for mistakes)
- Deep conditioner
4. The Crucial Strand Test
This step is non-negotiable. The strand test is your insurance policy against color catastrophes. Here’s how to do it:
- Select a small, inconspicuous section of hair from the underside of your hair, near the nape of your neck.
- Prepare a small amount of your chosen tint mixture according to the package instructions.
- Apply the mixture to the chosen strand.
- Let it process for the recommended time, checking the color periodically.
- Rinse the strand thoroughly, dry it, and assess the color result.
The strand test will reveal:
- How the color appears on your specific hair base.
- If any underlying pigments are showing through.
- The processing time needed for your desired shade.
- If you have any allergic reactions (though a patch test is recommended for this prior to the strand test).
If the result isn’t what you envisioned, you can adjust your formula or processing time before applying it to your entire head.
The Application Process: Crafting Your Pearl Masterpiece
With your preparation complete and your strand test providing confidence, it’s time to bring your pearl tint dreams to life. Precision and patience are key during this stage.
1. Protect Your Skin and Workspace
Apply petroleum jelly or barrier cream generously along your hairline, ears, and the back of your neck. This prevents staining. Don your gloves and put on your old clothing or cape. Cover your surrounding surfaces with old towels or newspaper to protect them from accidental drips.
2. Section Your Hair
Clean, dry hair is generally recommended for demi-permanent and semi-permanent colors. However, always refer to your product’s specific instructions. Divide your hair into manageable sections using your clips. This ensures even saturation and prevents missed spots.
3. Mix Your Color and Developer
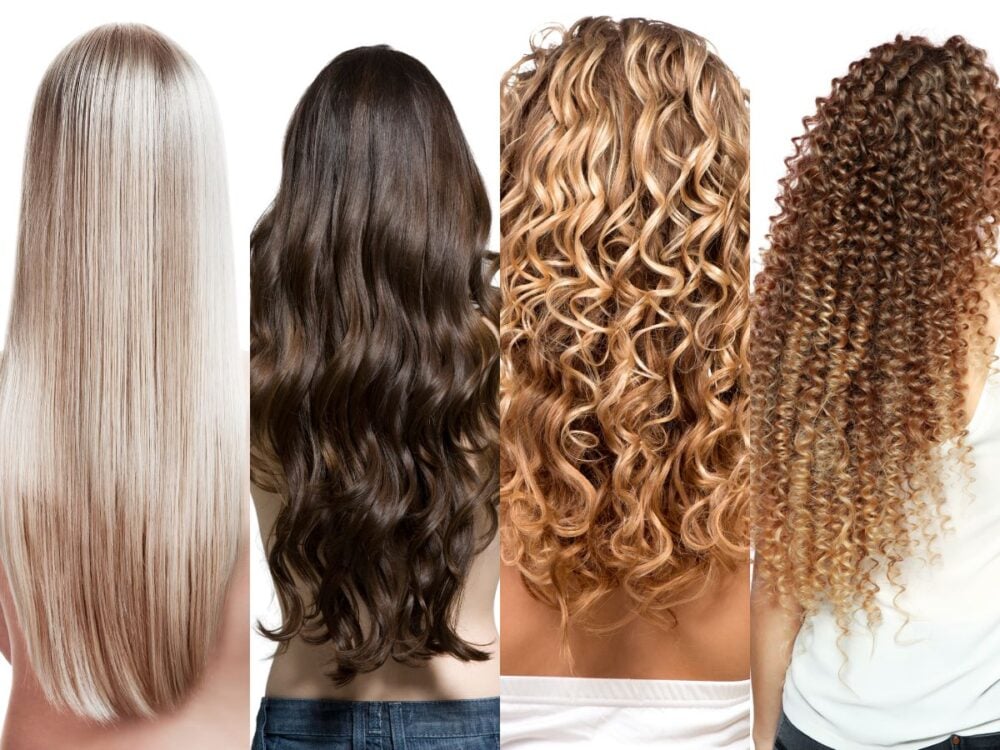
Follow the instructions on your pearl tint product precisely. Typically, you’ll mix the tint with the developer in a non-metallic bowl. For custom pearl shades, this is where you can get creative. A common technique for a subtle pearlescent effect is to mix a semi-permanent toner with a clear gloss or a very diluted amount of a base color. For example, to achieve a soft lavender pearl, you might mix a lavender toner with a clear or white conditioner/gloss. Experiment with small batches during your strand test to find your perfect ratio.
4. Apply the Tint Evenly
Starting from the roots and working your way down, use your applicator brush to apply the tint to each section of hair. Ensure thorough saturation by working the color through each strand. If you have very long or thick hair, you may need assistance from a friend to ensure complete coverage.
For a more diffused or ombré pearl effect, you can focus the tint more on the mid-lengths and ends, blending upwards. Conversely, for an all-over pearlescent glow, ensure even application from root to tip.
5. Processing Time: Watch and Wait
Once your entire head is covered, start your timer. The processing time will vary depending on the product and the desired intensity. Refer to your product’s instructions and your strand test results. Many demi-permanent pearl tints can be left on for 20-30 minutes. It’s crucial not to over-process, as this can lead to undesirable tones or damage.
During processing, keep an eye on the color. Some formulas may change appearance as they develop. Resist the urge to rinse early unless your strand test indicated otherwise. For a more subtle pastel effect, you might rinse a bit sooner, while for a more pronounced pearl, you’ll let it process for the full recommended time.
6. Rinse and Condition
Once the processing time is up, rinse your hair thoroughly with cool water. Cool water helps to seal the hair cuticle, locking in the color and enhancing shine. Avoid using shampoo immediately after rinsing. Instead, apply a deep conditioner or a color-safe conditioner. Leave it on for a few minutes to replenish moisture and further seal the color. Rinse again with cool water.
Post-Application Care: Maintaining Your Luminous Locks
The journey to salon-quality pearl tint doesn’t end in the shower. Proper aftercare is essential to preserve the vibrancy and longevity of your beautiful new color.
1. Use Color-Safe Products
Invest in shampoos and conditioners specifically formulated for colored hair. These products are designed to be gentler, preventing premature fading and preserving the delicate pearl tones. Avoid sulfates, which can strip color.
2. Minimize Washing
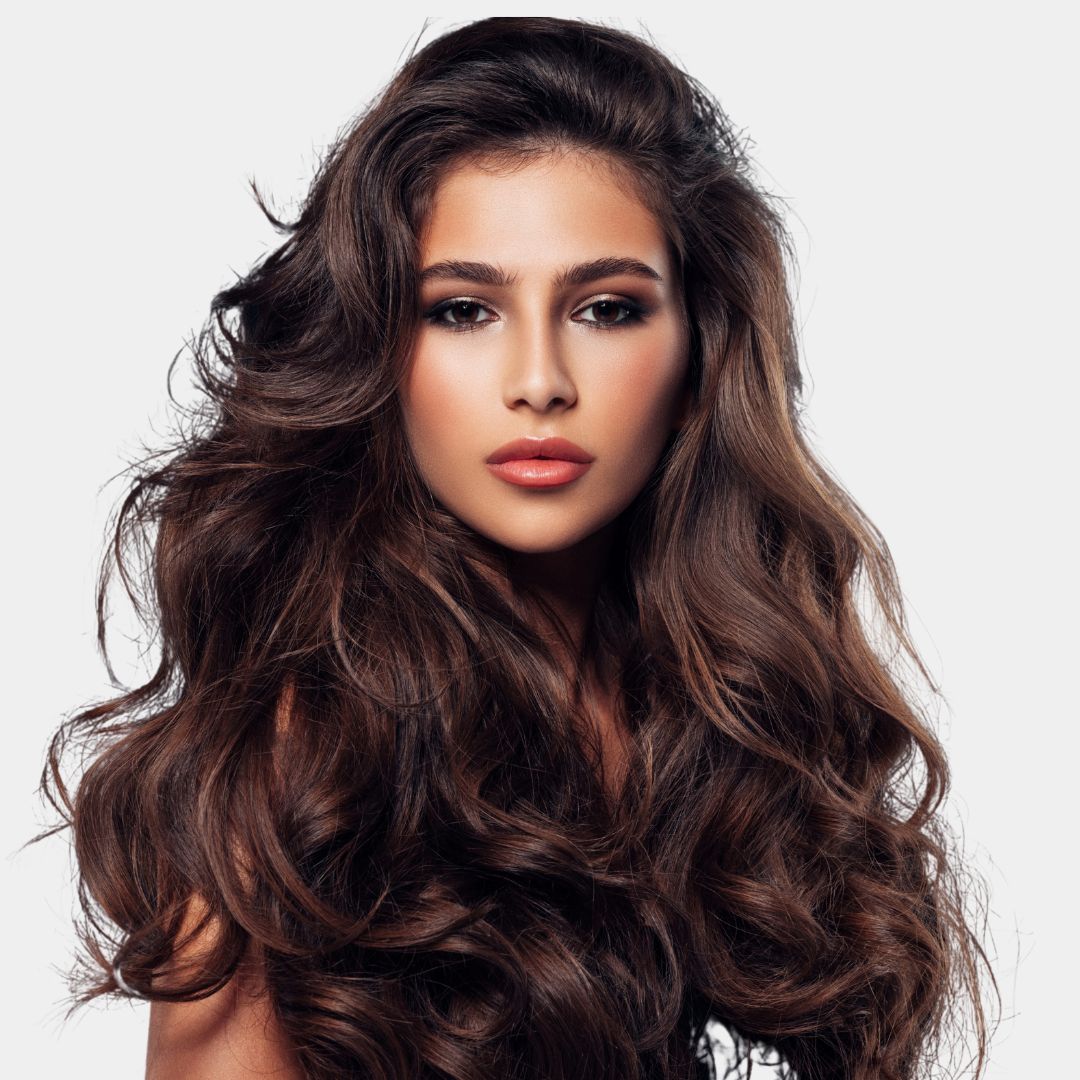
The more you wash your hair, the faster the color will fade. Try to extend the time between washes. Dry shampoo can be your best friend on non-wash days. When you do wash, use cool water.
3. Deep Condition Regularly
Pearl tints, especially those that involve some lightening, can still benefit from extra moisture. Incorporate a weekly deep conditioning treatment to keep your hair healthy, shiny, and vibrant. Look for treatments with ingredients like shea butter, argan oil, or keratin.
4. Protect from Heat and Sun

Excessive heat styling can fade color and damage hair. When using heat tools like blow dryers, flat irons, or curling irons, always apply a heat protectant spray. Similarly, prolonged exposure to direct sunlight can also cause color to fade. Consider wearing a hat or using UV-protective hair products when outdoors.
5. Touch-Ups and Toning
As your hair grows, you may need to touch up your roots. For pearl tints, this can be tricky. Often, it’s best to lighten the roots separately and then apply a toner or a diluted pearl tint to blend. Alternatively, consider professional root touch-ups to maintain seamless color. If your pearl tones start to fade and turn brassy, a purple or blue-toned shampoo or a toner can help neutralize unwanted warmth and refresh the pearlescent effect.
Common Pitfalls and How to Avoid Them
Even with the best intentions, DIY hair coloring can present challenges. Being aware of common mistakes can help you sidestep them:
- Uneven Application: This is often due to insufficient sectioning or not saturating the hair thoroughly. Take your time and use a good mirror.
- Unpredictable Tones: This usually happens when the base color isn’t light enough or when incompatible undertones are present. Always perform a strand test.
- Over-Processing and Damage: Using the wrong developer or leaving the color on for too long can lead to breakage and dryness. Stick to lower volume developers and follow processing times strictly.
- Staining Skin and Surfaces: Thoroughly protecting your skin and workspace is crucial.
- Not Reading Instructions: Each product is different. Always read and follow the specific instructions provided by the manufacturer.
Your Path to Pearlescent Perfection

Achieving a salon-quality pearl tint at home is an achievable and rewarding endeavor. By understanding the principles of pearl tinting, meticulously preparing your hair and workspace, applying the color with precision, and committing to proper aftercare, you can unlock a world of luminous, shimmering color. Remember that patience, thoroughness, and a commitment to your hair’s health are your greatest allies. So, embrace the DIY spirit, follow these comprehensive tips, and get ready to shine with your beautiful, homemade pearl tint.