Play kitchens are a staple in many homes, sparking creativity and imaginative play among children. One of the most important features of these play kitchens is the tabletop, which serves as the central hub for culinary adventures. Personalizing the play kitchen tabletop not only enhances the aesthetic appeal but also adds a layer of functionality and emotional connection for your child. In this article, we’ll explore a variety of DIY ideas to personalize your play kitchen table top, providing instructions, materials needed, and insightful tips along the way.
Why Personalize Your Play Kitchen Table Top?
Before diving into the DIY ideas, it’s essential to understand the benefits of personalizing your child’s play kitchen table. Here are some compelling reasons:
- Encourages Creativity: A personalized tabletop acts as a canvas for your child’s imagination, allowing them to create their own culinary stories.
- Enhances Learning: Different textures, colors, and designs can teach children about food, cooking, and even geography.
- Builds Emotional Connection: Personalization can make the play kitchen feel more like their own space, fostering a sense of ownership and responsibility.
- Boosts Aesthetics: A visually appealing play kitchen enhances the overall decor of your home, making it an inviting space for both children and parents.
DIY Ideas to Personalize Your Play Kitchen Table Top
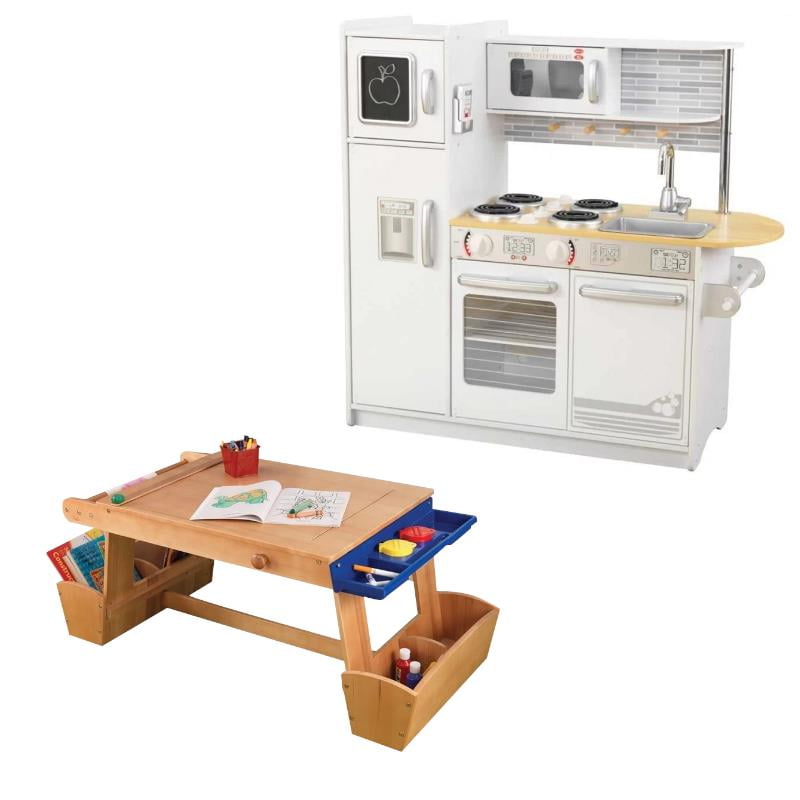
Now that we understand the importance of personalization, let’s explore some creative DIY ideas to transform your play kitchen tabletop.
1. Chalkboard Paint
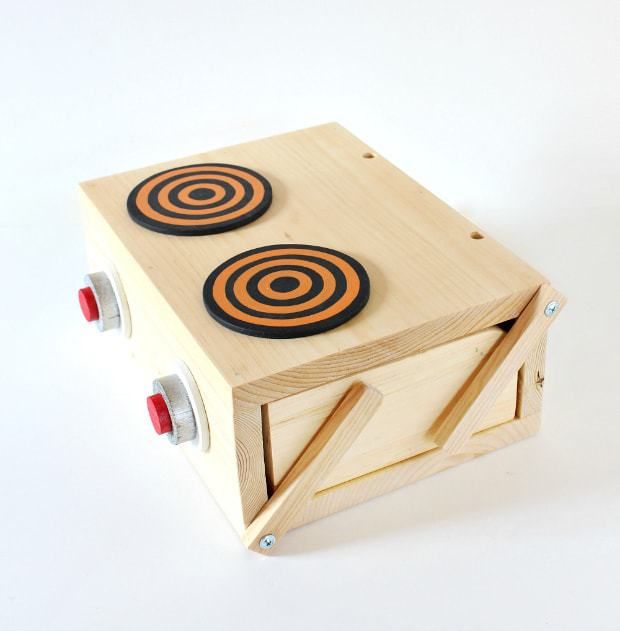
Chalkboard paint offers a versatile surface for creativity. Children can draw, write, and erase their culinary masterpieces, making it an interactive space.
- Materials Needed: Chalkboard paint, paintbrush, primer (if necessary), painter’s tape.
- Instructions:
- Clean the tabletop thoroughly.
- Apply painter’s tape around the edges to protect other surfaces.
- If the surface is slick, apply a primer.
- Paint the tabletop with chalkboard paint and allow it to dry completely.
- Once dry, let your child use chalk to personalize their new workspace!
2. Decoupage with Food Images
Decoupage is a fun and easy way to add color and personality to the tabletop. Using images of food, kitchen utensils, or even family recipes can create a delightful mosaic.
- Materials Needed: Mod Podge, food images (printed or cut from magazines), paintbrush, scissors.
- Instructions:
- Cut out images of food and kitchen items.
- Apply a thin layer of Mod Podge on the tabletop where you want to place the images.
- Carefully place the images on the tabletop and smooth them out to eliminate air bubbles.
- Once all images are placed, apply a top coat of Mod Podge over the entire surface.
- Let it dry completely before allowing your child to use the table.
3. Fabric Covering
For a softer, textured look, consider using fabric to cover the tabletop. This can add warmth and color and can be changed easily as styles or preferences evolve.
- Materials Needed: Fabric of your choice, adhesive spray, scissors, and a clear sealant (optional).
- Instructions:
- Measure the tabletop to determine how much fabric you’ll need.
- Cut the fabric to size, allowing extra for wrapping around the edges.
- Spray adhesive on the tabletop and carefully place the fabric over it.
- Wrap the edges of the fabric around the sides and secure them underneath.
- For durability, consider applying a clear sealant over the fabric.
4. Interactive Elements
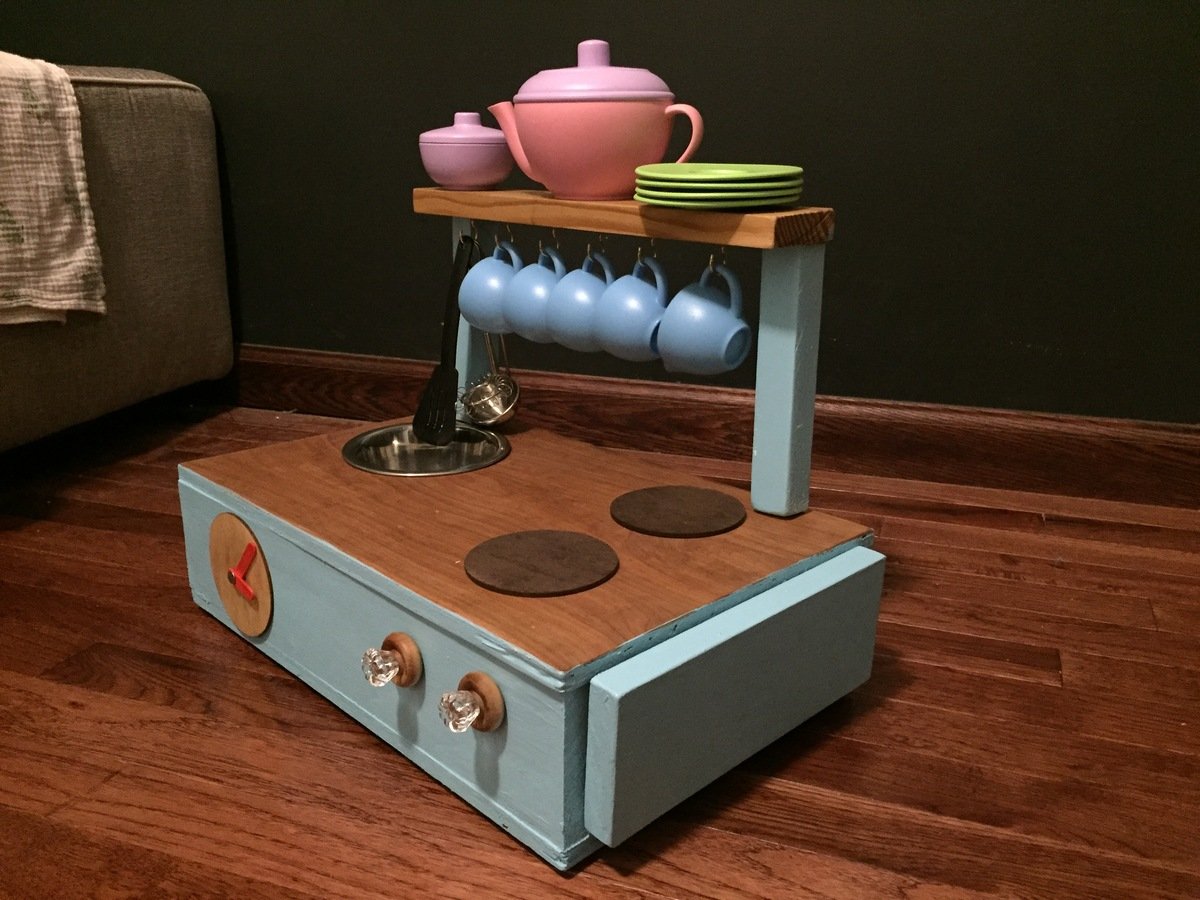
Adding interactive elements can make playtime even more engaging. Consider incorporating removable pieces or features that can be changed out or moved around.
- Materials Needed: Velcro dots, small containers, magnets (if applicable), and various play items (like toy food).
- Instructions:
- Attach Velcro dots to the tabletop and the bottom of small containers to create an attachable storage solution.
- If using magnets, attach them to the back of play food items and corresponding magnetic strips on the table.
- Encourage your child to organize their items, enhancing their play experience.
5. Colorful Stickers and Stencils
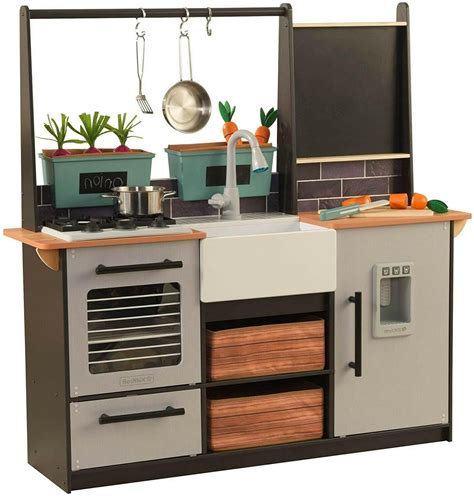
Stickers and stencils can instantly brighten up a dull tabletop. They are easy to apply and can be changed regularly.
- Materials Needed: Stickers, stencils, paint or markers, and sealant.
- Instructions:
- Decide on a theme or color scheme for the stickers or stencils.
- Apply stickers directly to the tabletop or use stencils to paint designs.
- Seal the designs with a clear coat to protect them from wear and tear.
Case Studies: Transforming Play Kitchens
Many parents have shared their experiences with personalizing play kitchen tabletops, showcasing the positive impact it has had on their children’s playtime.
- Case Study 1: A mom in California transformed her daughter’s play kitchen using chalkboard paint. She noted that her daughter spent more time playing and even started writing down her “recipes,” merging play with learning.
- Case Study 2: A family in Texas decided to decoupage their tabletop with images of their favorite family meals. This not only personalized the space but also sparked conversations about cooking and family traditions.
- Case Study 3: A father in New York added interactive elements to his son’s play kitchen. The son loved rearranging the items and creating different layouts, which encouraged problem-solving and storytelling.
Personalizing your child’s play kitchen tabletop is a rewarding project that brings a sense of ownership, creativity, and educational value to their playtime. From chalkboard paint and decoupage to fabric coverings and interactive elements, there are countless ways to make the tabletop a unique and engaging space. By incorporating these DIY ideas, you not only enhance the play experience but also create lasting memories and foster skills that will benefit your child in many areas of life. So gather your materials, unleash your creativity, and embark on a fun DIY journey that will transform your child’s play kitchen into a personalized culinary paradise!
