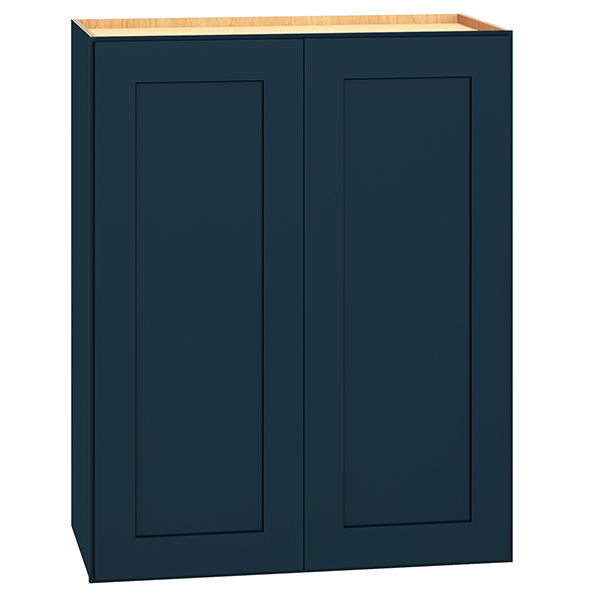
Installing a 24 x 30 wall cabinet can be a rewarding DIY project that not only enhances your home’s functionality but also adds to its aesthetic appeal. Whether you’re looking to organize your kitchen, bathroom, or laundry room, this guide will walk you through each step of the installation process, ensuring that you achieve a professional-looking result.
Understanding the Basics: What You Need Before You Start

Before you begin the installation process, it’s essential to gather the necessary tools and materials. This preparation will streamline the process and minimize delays.
- Tools Required:
- Stud finder
- Level
- Drill and drill bits
- Screwdriver
- Tape measure
- Pencil
- Safety goggles
- Step ladder
- Materials Needed:
- 24 x 30 wall cabinet
- Mounting brackets (if not included)
- Screws and anchors (as required)
- Wood filler (if needed)
- Paint or finish (optional)
Step-by-Step Installation Process
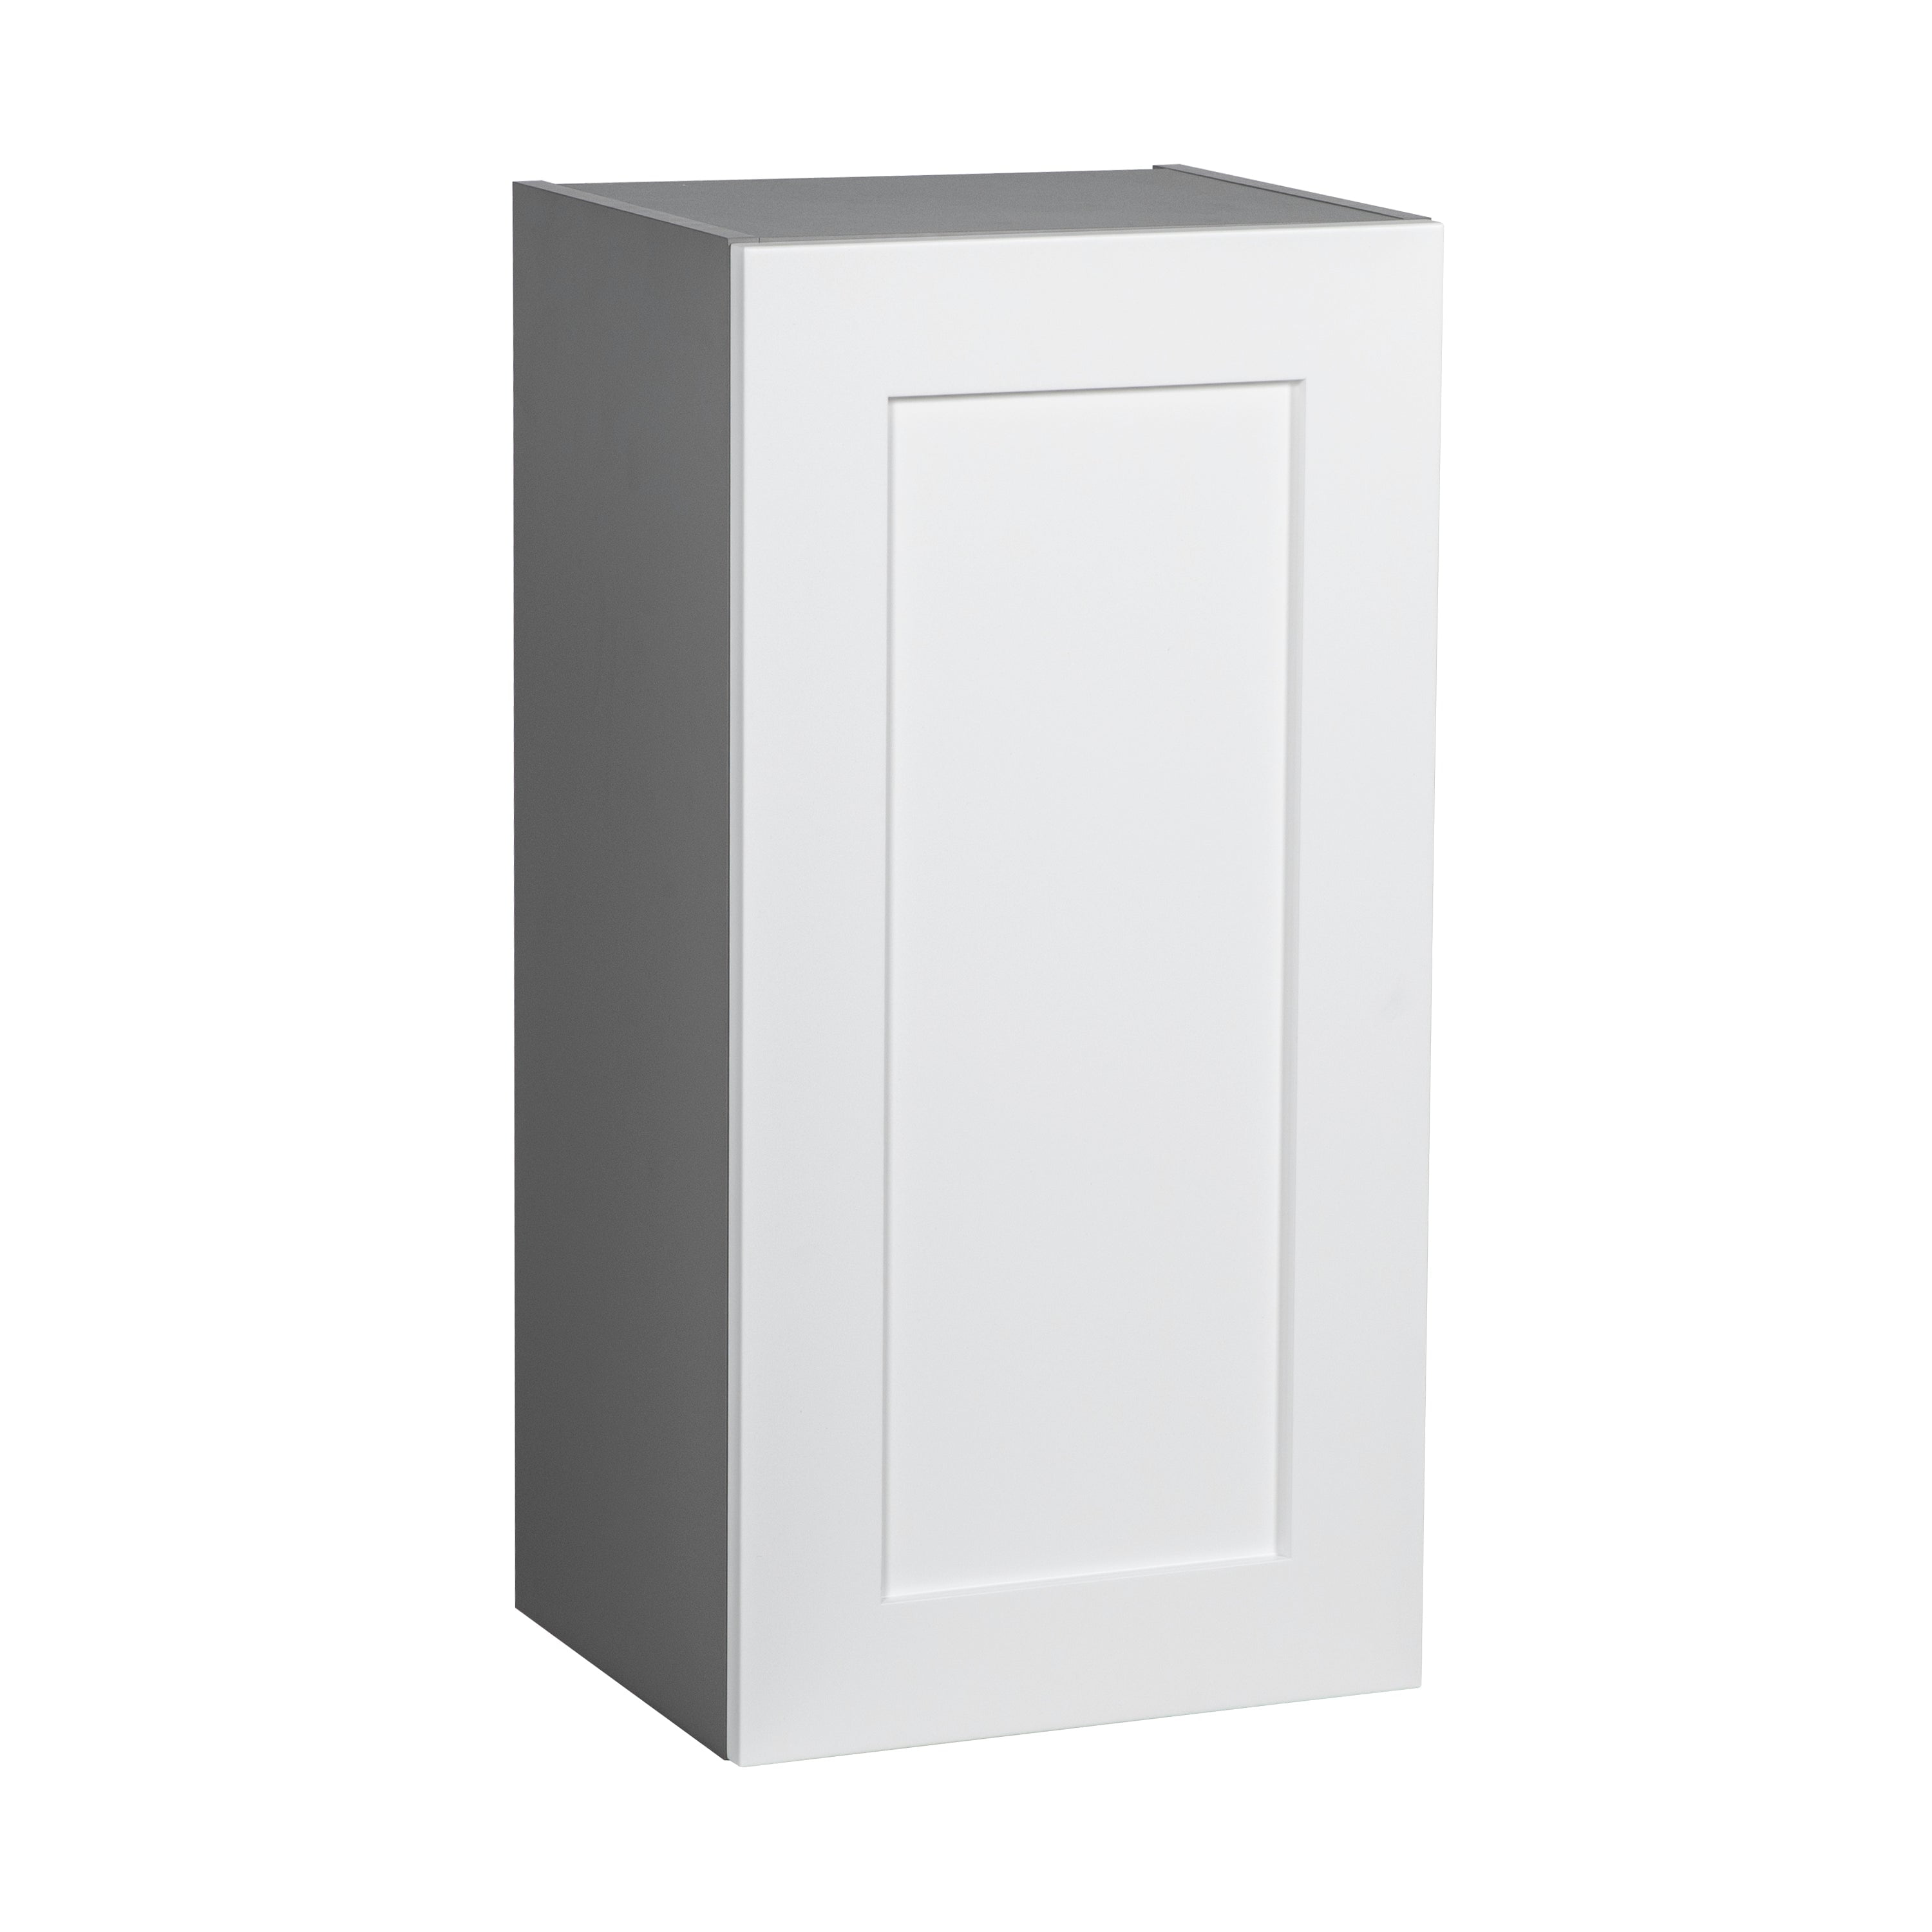
Step 1: Choose the Right Location
Deciding where to install your wall cabinet is crucial. Look for a space that maximizes utility while complementing your existing décor. Consider the following:
- Proximity to work areas (kitchen counters, laundry machines, etc.)
- Height that allows easy access without straining
- Clearance from appliances and fixtures
Step 2: Locate the Wall Studs
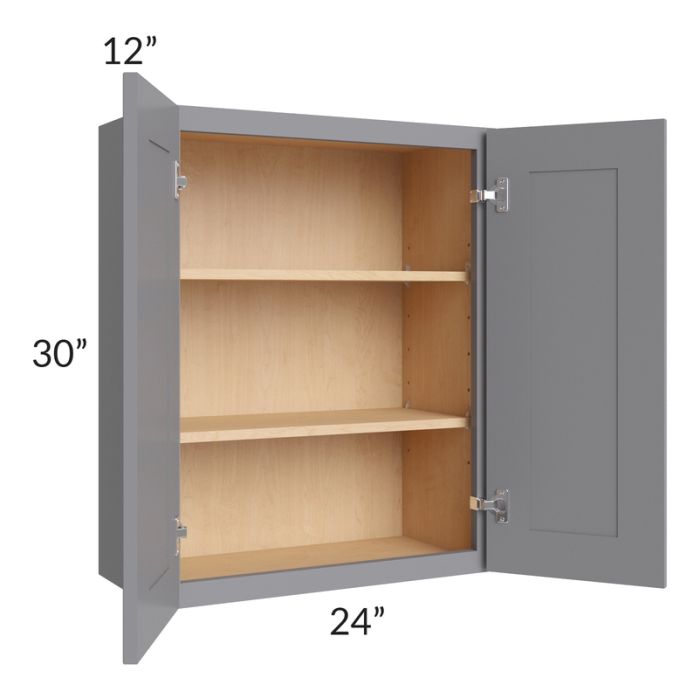
Wall cabinets must be securely attached to wall studs to hold their weight. Use a stud finder to locate the studs in your chosen installation area. Mark their locations with a pencil.
Step 3: Prepare the Cabinet
Before hanging the cabinet, ensure it is prepped for installation:
- If the cabinet requires assembly, follow the manufacturer’s instructions closely.
- Consider painting or finishing the cabinet before installation for easier access.
- Check for any imperfections and fill them with wood filler for a smooth finish.
Step 4: Mark the Mounting Height
Using your tape measure and level, determine the optimal height for your wall cabinet. Standard installation height is typically 54 inches from the floor to the bottom of the cabinet, but you may adjust this based on your personal preference or kitchen layout.
Step 5: Install the Mounting Bracket
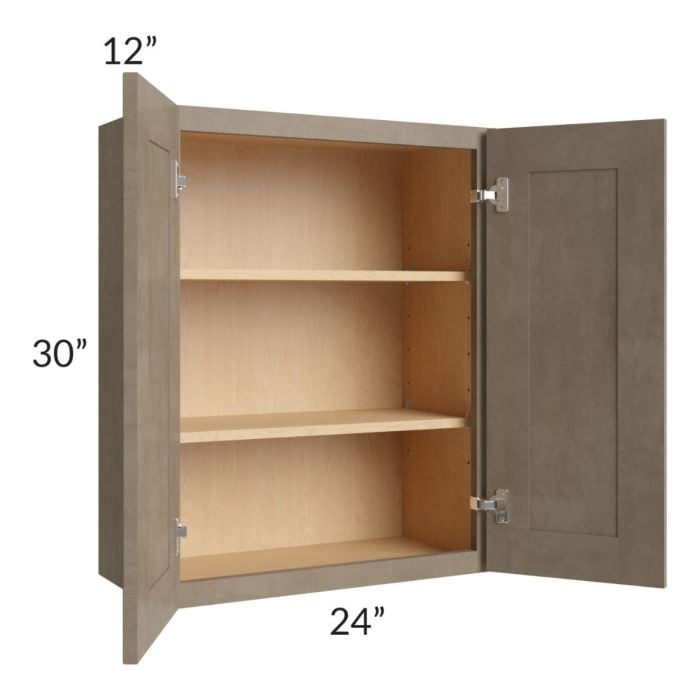
Most wall cabinets come with mounting brackets. Follow these steps to install:
- Align the bracket with the marked stud locations.
- Use a drill to secure the bracket to the wall with screws.
- Confirm that the bracket is level before securing it completely.
Step 6: Hang the Cabinet
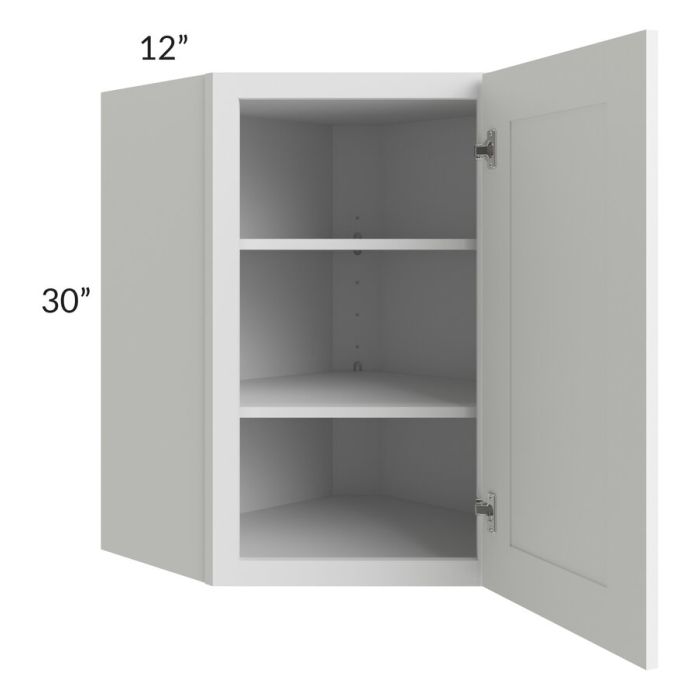
With the mounting bracket in place, it’s time to hang the cabinet:
- Seek assistance if the cabinet is heavy or cumbersome.
- Lift the cabinet and align it with the mounted bracket.
- Push the cabinet down to lock it securely onto the bracket.
Step 7: Secure the Cabinet
Once the cabinet is hung, use screws to secure it through the cabinet’s top or back into the wall studs. This will provide extra stability.
Step 8: Final Adjustments
After installation, check for level and make any necessary adjustments. Use the level to ensure that the cabinet is perfectly aligned. If it’s not, gently adjust the cabinet until it is.
Tips for a Successful Installation
While the installation process is straightforward, here are some additional tips to ensure a seamless experience:
- Always wear safety goggles when drilling or working with power tools.
- Double-check measurements to avoid costly mistakes.
- Have a friend assist you, especially when lifting heavy cabinets.
- Consider adding cabinet lighting or pull-out shelves for added functionality.
- Review local building codes if installing in a commercial space.
Common Challenges and Solutions
Even the most prepared DIYers can encounter challenges. Here are common problems and how to solve them:
- Uneven Walls: Use shims to fill gaps between the cabinet and wall for a level installation.
- Inadequate Support: If studs are not in the desired location, consider using toggle bolts or wall anchors for added support.
- Cabinet Weight: Reinforce the mounting bracket or use additional screws for heavy cabinets.
Installing a 24 x 30 wall cabinet can dramatically improve your storage solutions and add an elegant touch to your space. By following this DIY guide, you can successfully complete the installation process with confidence. Remember to gather the right tools, prepare adequately, and take your time during the installation. With careful planning and execution, you’ll have a beautifully installed cabinet that meets your needs and enhances your home’s functionality.
In summary, the key takeaways for your DIY wall cabinet installation include understanding your tools, preparing your workspace, and following a step-by-step approach. With these fundamentals, you can tackle this project efficiently and effectively, turning your vision into reality.