
Installing a cement tile backsplash can be a rewarding DIY project that adds beauty and value to your kitchen or bathroom. Known for their durability and unique aesthetic, cement tiles are a popular choice among homeowners looking to make a statement. However, the installation process can be intricate, requiring careful planning and execution. This article provides comprehensive DIY installation tips for backsplash cement tile, ensuring you’ll achieve a stunning result.
Understanding Cement Tiles
Cement tiles, also known as encaustic tiles, are made from a mixture of cement, sand, and pigments. They are not only durable but also come in various colors and patterns, making them a versatile choice for any design scheme. Unlike ceramic tiles, cement tiles are porous and require sealing to prevent stains and damage.
Planning Your Project
Proper planning is essential for a successful DIY installation. Here are some key steps to consider:
- Choose Your Tile: Select a tile design that complements your space. Consider the size, color, and pattern.
- Measure Your Space: Accurately measure the area where you plan to install the backsplash. This will help you determine how many tiles you need.
- Gather Materials: Ensure you have all the necessary materials, including tiles, adhesive, grout, spacers, a trowel, a tile cutter, and a sealing agent.
Preparing the Surface
Before installation, prepare the surface to ensure proper adhesion:
- Clean the Area: Remove any old backsplash, grease, or debris from the wall. A clean surface is crucial for the adhesive to bond effectively.
- Check for Level: Use a level to ensure the wall is even. If not, you may need to patch or repair it.
- Apply a Backer Board (if necessary): For areas exposed to moisture, consider installing a cement backer board to provide a stable base for your tiles.
Cutting the Tiles
Cutting tiles can be one of the most challenging aspects of the installation process. Here are some tips:
- Use the Right Tools: A wet saw is ideal for cutting cement tiles, as it prevents chipping. You can also use a tile cutter for straight cuts.
- Measure Twice, Cut Once: Always double-check your measurements before cutting to avoid waste.
- Make a Template: For complex cuts, create a paper template to ensure accuracy.
Adhesive Application
Applying the right adhesive is crucial for a long-lasting installation. Follow these guidelines:
- Choose the Right Adhesive: Use a high-quality thin-set mortar specifically designed for cement tiles.
- Apply Evenly: Use a notched trowel to spread the adhesive evenly across the surface. This helps to achieve a strong bond.
- Work in Sections: Only apply adhesive to a small section at a time to prevent it from drying out before you place your tiles.
Tile Placement
Now comes the exciting part—placing the tiles! Here are some tips to ensure an even and attractive layout:
- Start at the Center: Begin your installation in the center of the wall and work your way outwards. This approach helps maintain symmetry.
- Use Spacers: Insert spacers between tiles to ensure consistent grout lines. This will also make the grouting process easier later on.
- Press Firmly: Press each tile firmly into the adhesive to ensure a solid bond. A gentle twisting motion can help with this.
Grouting the Tiles
Once the adhesive has cured (typically 24 hours), it’s time to grout. Here’s how:
- Choose the Right Grout: Select a grout that complements your tiles. Unsanded grout is recommended for narrow joints, while sanded grout is suitable for wider joints.
- Mix According to Instructions: Follow the manufacturer’s instructions for mixing the grout. Aim for a smooth, thick consistency.
- Apply Grout: Use a grout float to apply the grout, pressing it into the joints. Wipe away excess grout with a damp sponge as you go.
Sealing the Tiles

After grouting, it’s important to seal your cement tiles to protect them from moisture and stains:
- Choose a Quality Sealer: Look for a penetrating sealer designed for cement tiles.
- Follow Application Instructions: Apply the sealer according to the manufacturer’s instructions, ensuring even coverage.
- Reapply as Needed: Depending on usage, plan to reapply the sealer every 1-3 years to maintain protection.
Case Studies: Successful DIY Backsplash Installations
Many homeowners have successfully installed cement tile backsplashes, transforming their spaces dramatically. Here are a couple of case studies:
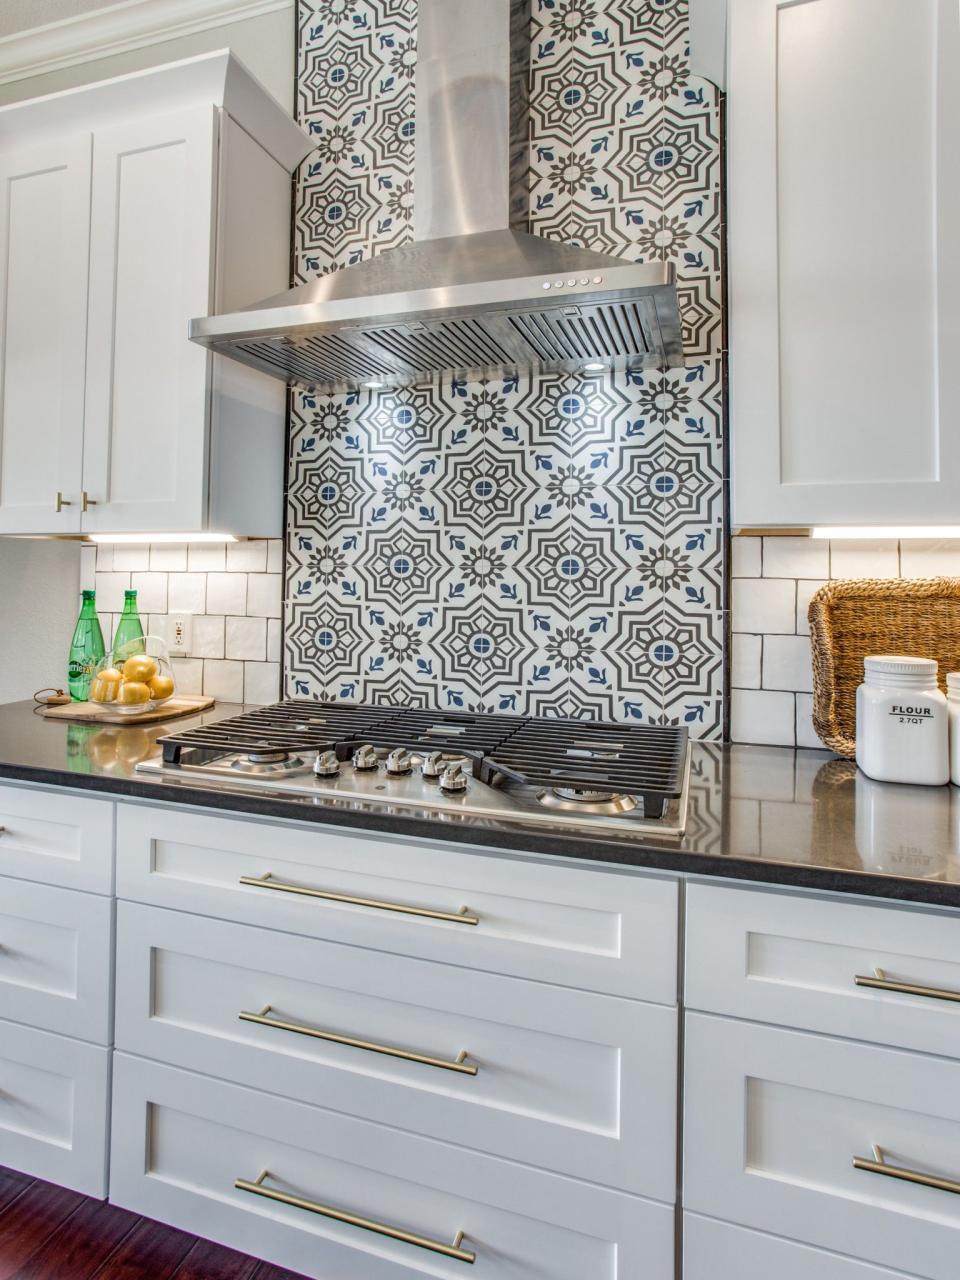
Case Study 1: A Modern Kitchen Makeover
A couple in California decided to install a cement tile backsplash in their kitchen. They chose a bold geometric pattern that added a contemporary flair. By following a meticulous planning process and taking their time with the installation, they achieved a professional-looking result that became the focal point of their kitchen.
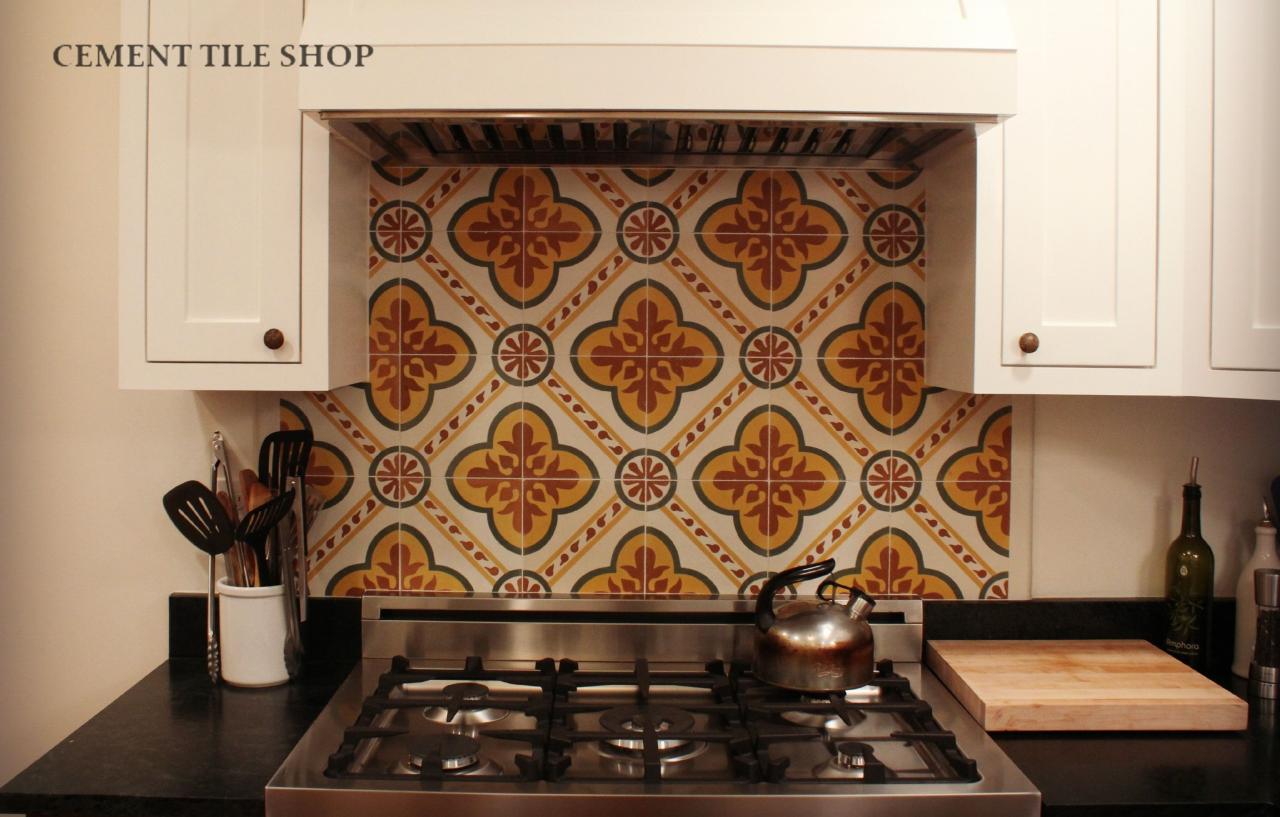
Case Study 2: A Rustic Bathroom Transformation
A homeowner in Texas opted for a vintage-style cement tile in their bathroom renovation. They successfully installed the tiles themselves, integrating them with reclaimed wood elements. The result was a stunning blend of rustic charm and modern aesthetics, ultimately increasing the home’s resale value.
Installing a cement tile backsplash can be a fulfilling DIY project that enhances the beauty and functionality of your kitchen or bathroom. By planning meticulously, preparing your surface correctly, and following the steps outlined in this article, you can achieve a professional-looking installation. Remember to choose the right materials, take your time during the cutting and placement, and seal your tiles to protect your investment. With patience and attention to detail, your cement tile backsplash will not only be a conversation starter but also a durable accent in your home for years to come.


