For any guitarist, their instrument is more than just a tool; it’s a cherished possession, a source of creative expression, and often, a beautiful work of art. While storing your guitar safely in a case is essential for protection, displaying it on your wall can elevate your living space, showcase your passion, and make your instrument readily accessible for those spontaneous jam sessions. Gone are the days when generic, functional guitar hangers were the only option. Today, the DIY spirit allows you to craft unique, stylish, and personalized wall guitar holders that reflect your individual taste and complement your home décor. This article will guide you through the exciting world of DIY guitar displays, exploring various styles, materials, and techniques to help you create a stunning and functional masterpiece.
Why Go DIY for Your Guitar Display?

The allure of a DIY guitar holder extends beyond mere cost savings. While it’s true that creating your own can often be more budget-friendly than purchasing a high-end commercial product, the benefits run much deeper:
- Unleash Your Creativity: Commercial options are often limited in design. DIY allows you to tailor the holder to your specific aesthetic, whether it’s rustic, modern, industrial, or minimalist.
- Personalized Fit: You can design a holder that perfectly accommodates the shape and size of your specific guitar, ensuring a secure and snug fit.
- Integrate with Your Décor: Match the materials and finish of your guitar holder to your existing furniture and wall colors for a cohesive look.
- Showcase Your Skills: Building something beautiful and functional can be incredibly rewarding, adding a personal touch to your home.
- Accessibility: A well-placed wall mount keeps your guitar easily accessible, encouraging more playing time.
Consider the case of a musician named Sarah, a graphic designer with a penchant for mid-century modern décor. She found standard guitar stands clashed with her aesthetic. By building her own wall mount from walnut wood with clean lines and subtle brass accents, she not only secured her vintage Telecaster but also created a focal point that perfectly complemented her living room.
Planning Your Stylish Guitar Holder: Key Considerations
Before you grab your tools, a bit of planning goes a long way. Thinking through these aspects will ensure your project is successful and results in a holder you’ll be proud of:
Assessing Your Guitar’s Needs

Different guitars have different weights and shapes. It’s crucial to consider:
- Weight: Acoustic guitars are generally heavier than electric guitars. Your chosen materials and mounting hardware must be robust enough to support the weight securely.
- Headstock Shape: The neck and headstock are delicate. The cradle should be designed to hold the neck without putting undue pressure on tuners or the headstock itself.
- Body Size: Ensure the holder will accommodate the width and depth of your guitar’s body.
Material Selection: Beyond Basic Wood

While wood is a popular and versatile choice, don’t limit yourself. Explore these options:
- Wood:
- Hardwoods (Oak, Maple, Walnut): Offer superior strength, durability, and a premium look.
- Softwoods (Pine, Cedar): More affordable and easier to work with, suitable for simpler designs or painted finishes.
- Plywood: A strong and stable option for structural components.
- Metal:
- Steel: Offers immense strength and can be welded or bolted for an industrial aesthetic.
- Aluminum: Lighter than steel and resistant to rust, often used for modern designs.
- Copper/Brass: Adds a touch of elegance and warmth, especially for decorative accents.
- Reclaimed Materials:
- Pallet Wood: Offers a rustic, distressed look.
- Old Furniture Parts: Repurpose drawers, table legs, or shelving for unique character.
- Bicycle Parts: Old handlebars or frames can be creatively incorporated.
- Leather/Fabric: Can be used for padding or decorative straps to protect the guitar’s finish.
Style and Aesthetics
This is where your personality shines through. Consider:
- Minimalist: Clean lines, subtle mounting, and a focus on the guitar itself.
- Rustic/Farmhouse: Reclaimed wood, distressed finishes, and perhaps a touch of metalwork.
- Industrial: Exposed metal pipes, bolts, and raw finishes.
- Art Deco/Vintage: Ornate details, polished woods, and perhaps curved elements.
- Themed: Incorporate motifs related to music genres or your favorite bands.
Safety and Protection

Your guitar is an investment. Prioritize its safety:
- Padding: Line the cradle and any contact points with soft material like felt, foam, or leather to prevent scratches.
- Secure Grip: Ensure the holder provides a firm but gentle grip to prevent accidental falls.
- Weight Distribution: Distribute the weight of the guitar evenly across the mounting points.
- Wall Anchoring: Use appropriate anchors for your wall type (drywall, plaster, brick) to ensure the holder is firmly attached. For heavier guitars, consider mounting into wall studs.
DIY Guitar Holder Project Ideas and Tutorials
Let’s dive into some popular and achievable DIY guitar holder projects, ranging from beginner-friendly to more advanced:
1. The Minimalist Floating Shelf Holder
This design offers a clean, modern look, making your guitar appear to float on the wall. It essentially combines a sturdy shelf with an integrated guitar cradle.
Materials:
- A solid piece of wood (e.g., a 1×8 or 1×10 board) cut to your desired shelf length.
- Wood screws.
- Wall anchors (if not mounting into studs).
- Optional: Felt or cork for padding.
Tools:
- Saw (hand saw, miter saw, or circular saw).
- Drill and drill bits.
- Screwdriver.
- Sandpaper.
- Level.
Steps:
- Cut the shelf to your desired length.
- Measure and cut a smaller piece of wood (about 6-8 inches) to act as the neck support.
- Attach the neck support to the back edge of the shelf, about 2-3 inches from one end, using wood screws from the underside of the shelf. Ensure it’s perpendicular to the shelf.
- Sand all edges smooth.
- Apply your desired finish (stain, paint, or natural oil).
- Locate wall studs or use appropriate wall anchors.
- Mount the shelf securely to the wall using screws, ensuring it is level.
- Line the groove between the shelf and neck support with felt or cork for padding.
Example: A musician wanted a sleek display for their Stratocaster in a contemporary apartment. They opted for a floating shelf made of reclaimed barn wood, stained a dark walnut, with a subtle felt lining. This design kept the focus on the guitar while adding a touch of rustic charm.
2. The Industrial Pipe Holder
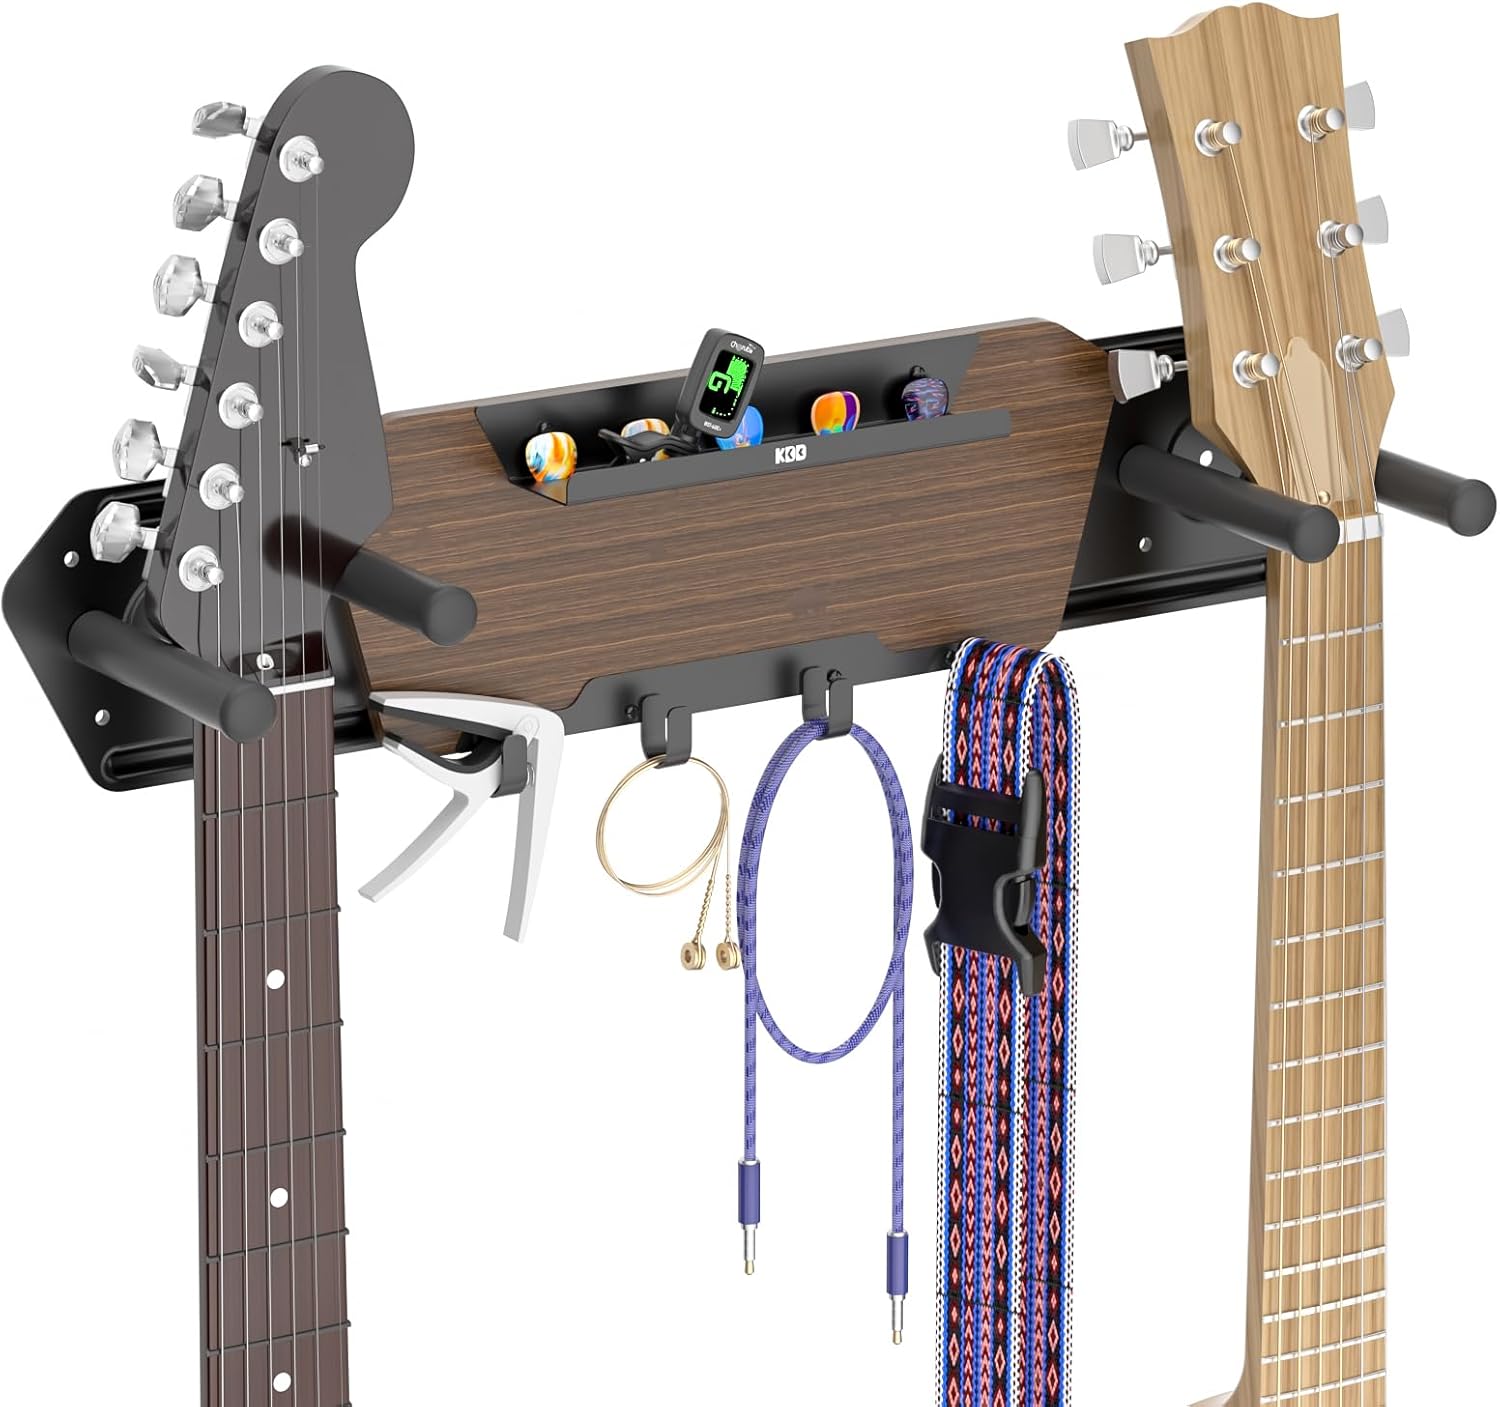
Embrace an urban, industrial aesthetic with this robust and eye-catching design using plumbing pipes and fittings.
Materials:
- Various lengths of black iron pipe and fittings (flanges, elbows, tees, caps) – determine the configuration based on your design.
- Wood for the backing or mounting plate.
- Screws for attaching flanges to wood and wood to the wall.
- Optional: Leather straps or rubber tubing for padding.
Tools:
- Pipe wrench (if assembling pipes).
- Drill and drill bits.
- Screwdriver.
- Saw (if cutting wood).
- Sandpaper.
- Level.
Steps:
- Design your pipe configuration. A common design involves two vertical pipes mounted to the wall with flanges, connected by a horizontal pipe or a cradle made of curved pipes.
- Assemble the pipe structure.
- If using a wooden backing, cut and finish it to size.
- Attach the pipe structure to the wooden backing (if used) or directly to the wall flanges.
- Mount the entire assembly securely to the wall, ensuring it’s level and can support the guitar’s weight.
- Add padding where the guitar will rest.
Case Study: A band’s rehearsal space was transformed with an industrial theme. They created a multi-guitar display using black iron pipes, creating a visually striking and incredibly strong mounting system that could hold several instruments.
3. The Reclaimed Wood & Leather Strap Holder

Combine the warmth of reclaimed wood with the elegance of leather for a truly unique and personalized display.
Materials:
- A piece of reclaimed wood (e.g., an old shelf, barn beam, or pallet wood).
- Leather strips or pre-made leather straps.
- Sturdy D-rings or eye hooks.
- Wood screws.
- Wall anchors (if not mounting into studs).
- Optional: Wood finish, sandpaper.
Tools:
- Saw (if cutting wood).
- Drill and drill bits.
- Screwdriver.
- Heavy-duty hole punch (for leather).
- Sandpaper.
- Level.
Steps:
- Prepare the reclaimed wood: clean, sand, and apply your desired finish.
- Decide on the placement of your leather straps. Typically, two straps create a cradle for the guitar’s body.
- Drill holes for your D-rings or eye hooks. Ensure they are spaced appropriately to securely hold the guitar’s body.
- Attach the D-rings/eye hooks to the wood with screws.
- Cut leather strips to the desired length.
- Punch holes in the leather straps to thread through the D-rings/eye hooks and secure them. You can create a buckle system or simply loop and tie them.
- Mount the wooden backing securely to the wall.
- Place your guitar in the leather cradle.
Statistic: According to a survey by the National Association of Home Builders, custom and personalized features are increasingly important to homeowners, with DIY projects often being a key way to achieve this.
4. The Artistic Silhouette Holder
This creative approach involves cutting a silhouette of a guitar or a musical motif into a piece of wood or metal, which then acts as a structural element and a visual statement.
Materials:
- A sturdy piece of wood or metal.
- Metal or wood cutting tools (e.g., jigsaw, scroll saw, metal shears).
- Hardware for mounting.
- Padding material.
Tools:
- Saw or metal cutting tools.
- Drill and drill bits.
- Screwdriver.
- Sandpaper.
- Level.
Steps:
- Sketch or find a template for your desired silhouette.
- Transfer the silhouette onto your chosen material.
- Carefully cut out the silhouette.
- Sand and finish the edges.
- Integrate a secure cradle or hook system behind the silhouette to support the guitar.
- Mount the finished piece securely to the wall.
Tips for Success and Safety
Regardless of the design you choose, keep these tips in mind:
- Measure Twice, Cut Once: This old adage is critical for any DIY project.
- Invest in Quality Hardware: Don’t skimp on screws, anchors, and mounting plates. Your guitar’s safety depends on it.
- Test the Strength: Before hanging your valuable instrument, test the holder’s capacity by applying downward pressure.
- Consider Your Wall Type: Drywall, plaster, and brick all require different mounting techniques and hardware.
- Protect Your Finish: Always use soft materials like felt, cork, or foam at contact points.
- Be Mindful of Location: Avoid placing your guitar holder in direct sunlight, near heat sources, or in areas with high humidity, as these can damage the instrument.
- Seek Inspiration: Browse online platforms like Pinterest, Instagram, and woodworking forums for endless DIY ideas.
Your Guitar, Your Masterpiece
Creating your own wall guitar holder is more than just a crafting project; it’s an opportunity to blend functionality with artistry. By carefully planning, selecting the right materials, and employing sound DIY techniques, you can transform your living space into a personalized gallery that showcases your beloved instrument. Whether you opt for the clean lines of a minimalist shelf, the industrial charm of pipes, or the rustic elegance of reclaimed wood, the act of building it yourself imbues your guitar display with a unique story and an undeniable sense of pride. So, gather your tools, unleash your creativity, and craft a stylish display that not only holds your guitar but also celebrates your passion for music and your own hands-on ingenuity.