The humble shotgun, a venerable tool for hunting, sport, and self-defense, has undergone a significant technological evolution. Among the most impactful upgrades in recent years is the integration of red dot sights. These compact, illuminated aiming devices offer unparalleled speed and accuracy, especially in dynamic shooting scenarios where traditional iron sights can be slow to acquire. However, realizing the full potential of a red dot sight on a shotgun hinges on proper installation and meticulous calibration. This comprehensive guide will walk you through the essential steps, offering insights, tips, and the rationale behind each action, ensuring your red dot is a reliable extension of your aim.
Why a Red Dot on a Shotgun? The Tactical Advantage
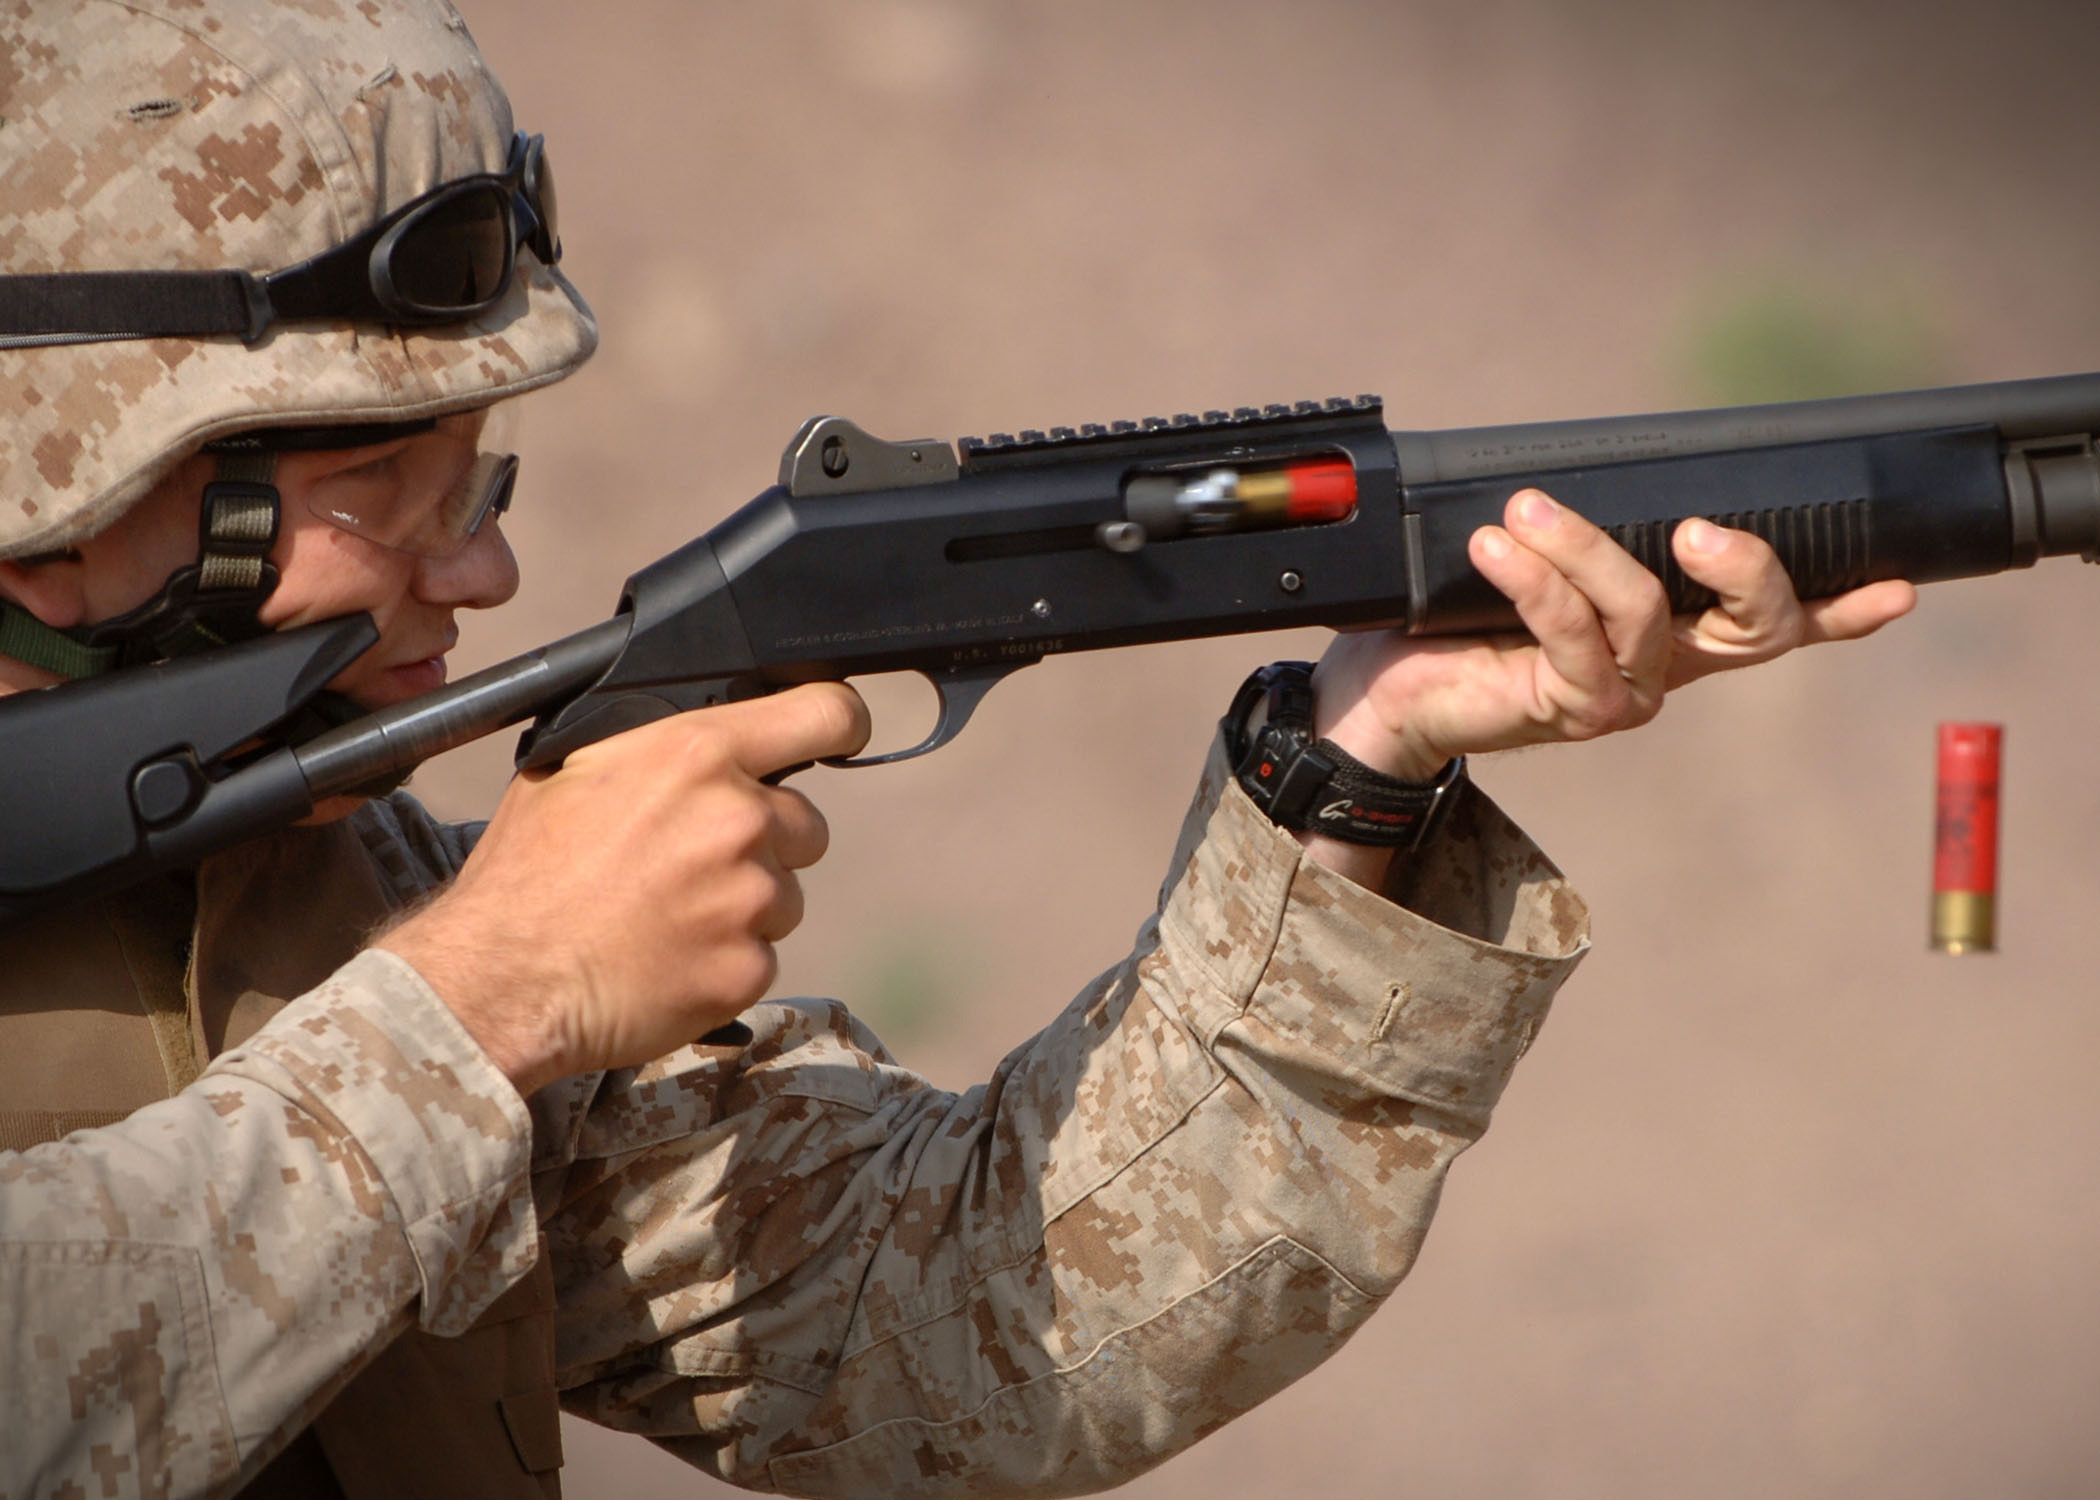
Before diving into the ‘how,’ let’s briefly touch upon the ‘why.’ Traditional shotgun sights, while effective, require precise alignment of the bead, the barrel, and the target. This process can be challenging under stress, in low light conditions, or when engaging fast-moving targets. Red dot sights bypass this need for perfect alignment. The illuminated dot appears to float on the target, allowing the shooter to simply place the dot on the intended point of impact and fire. This inherent advantage is crucial for:
- Faster Target Acquisition: Studies, such as those conducted by the U.S. Army Marksmanship Unit, have consistently shown faster and more consistent shot placement with red dot sights compared to iron sights in various tactical and sporting contexts.
- Improved Low-Light Performance: The illuminated reticle cuts through darkness and shadow, making it far easier to see and aim than dark metal sights.
- Situational Awareness: Because you’re not forced to close one eye and focus on a precise sight picture, you can maintain better peripheral vision and situational awareness.
- Versatility: Red dots excel in disciplines like 3-Gun competition, waterfowl hunting (especially for late-season hunts), and home defense where rapid, accurate engagement is paramount.
Choosing the Right Red Dot for Your Shotgun
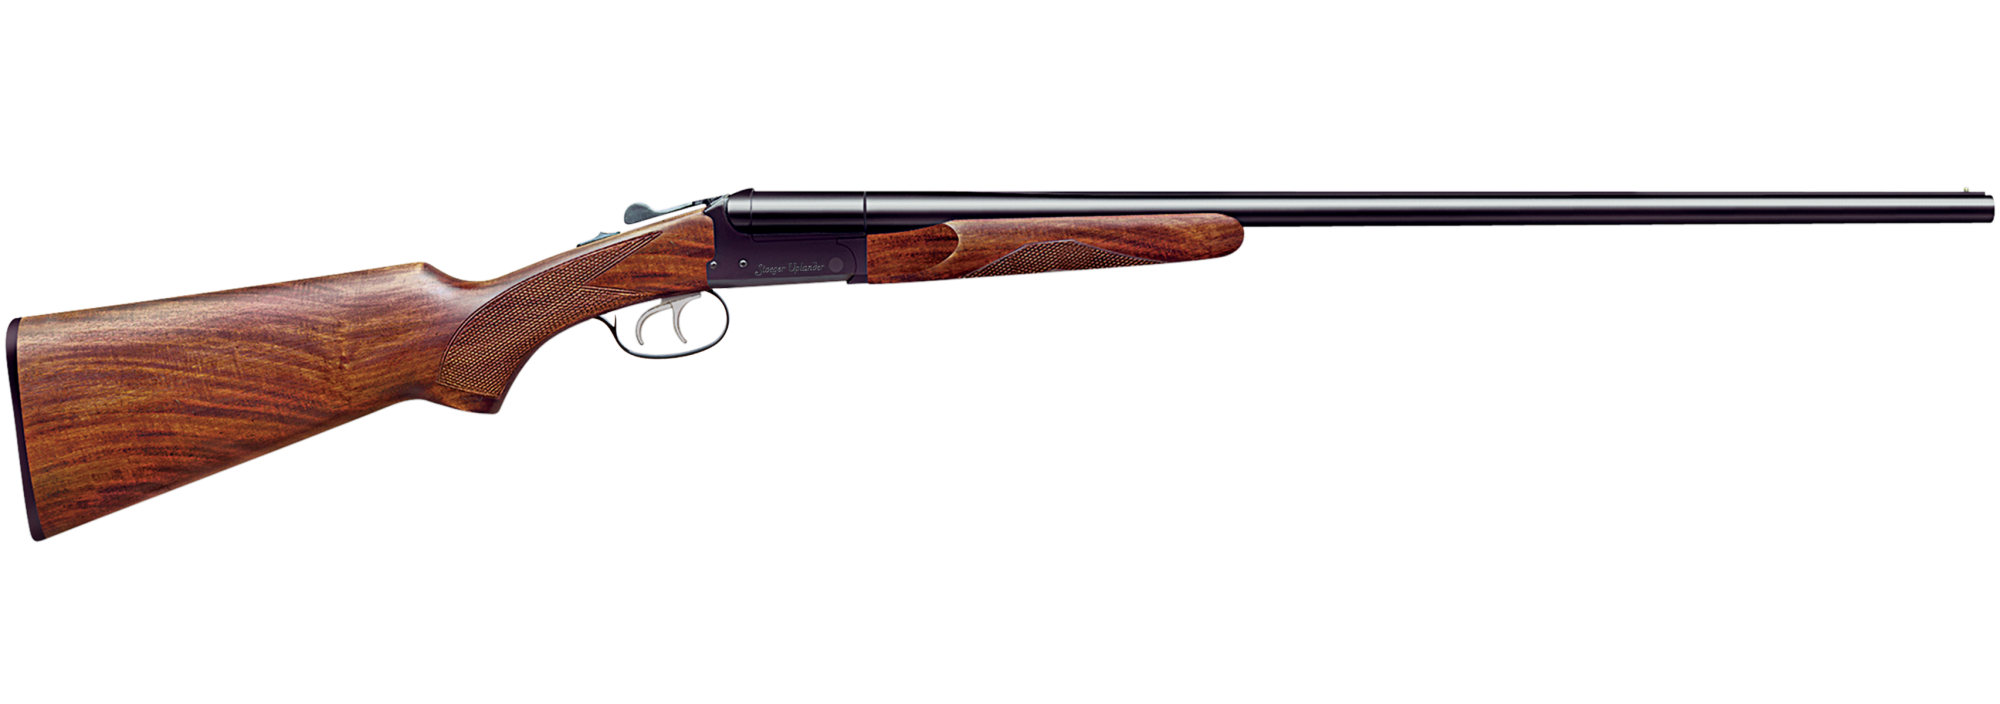
Not all red dots are created equal, and shotgun applications present unique considerations. Factors to weigh include:
- Ruggedness and Durability: Shotguns, especially those used for hunting or in tactical environments, can experience significant recoil. Opt for red dots designed for heavy recoil and built with robust materials like aircraft-grade aluminum.
- Mounting System: Ensure the red dot has a compatible mounting system for your shotgun. Many shotguns feature Picatinny or Weaver rails, or may require specialized mounts that attach to the receiver or vent rib.
- Reticle Type and Brightness: While most red dots feature a 3 MOA or 6 MOA dot, consider how you’ll use the sight. Larger dots are easier to see for quick, close-range shots, while smaller dots offer more precision at longer distances. Adjustable brightness is essential to adapt to varying light conditions.
- Battery Life: Long battery life is crucial, especially for hunting or extended use. Look for models with efficient power management or those that accept commonly available battery types.
Step-by-Step Installation: Securing Your Red Dot
Proper installation is the bedrock of reliable red dot performance. A loose or improperly mounted sight is not only ineffective but can be dangerous.
1. Selecting and Preparing the Mount
The first step is to choose the correct mount for your shotgun and red dot. Many shotguns come with factory-drilled receivers ready for scope bases. If your shotgun has a vent rib, specialized mounts designed to clamp onto the rib are available. For semi-automatic shotguns, some manufacturers offer dedicated receiver-mounted optic plates. Always ensure the mount is specifically designed for your shotgun model to guarantee a secure fit.
Before attaching the mount, clean the mounting surface on your shotgun receiver or rib. Remove any debris, oil, or old Loctite with a lint-free cloth and a degreaser like isopropyl alcohol. For vent rib mounts, ensure the clamping surfaces are clean and free of any obstructions that could prevent a tight grip.
2. Attaching the Mount to the Shotgun
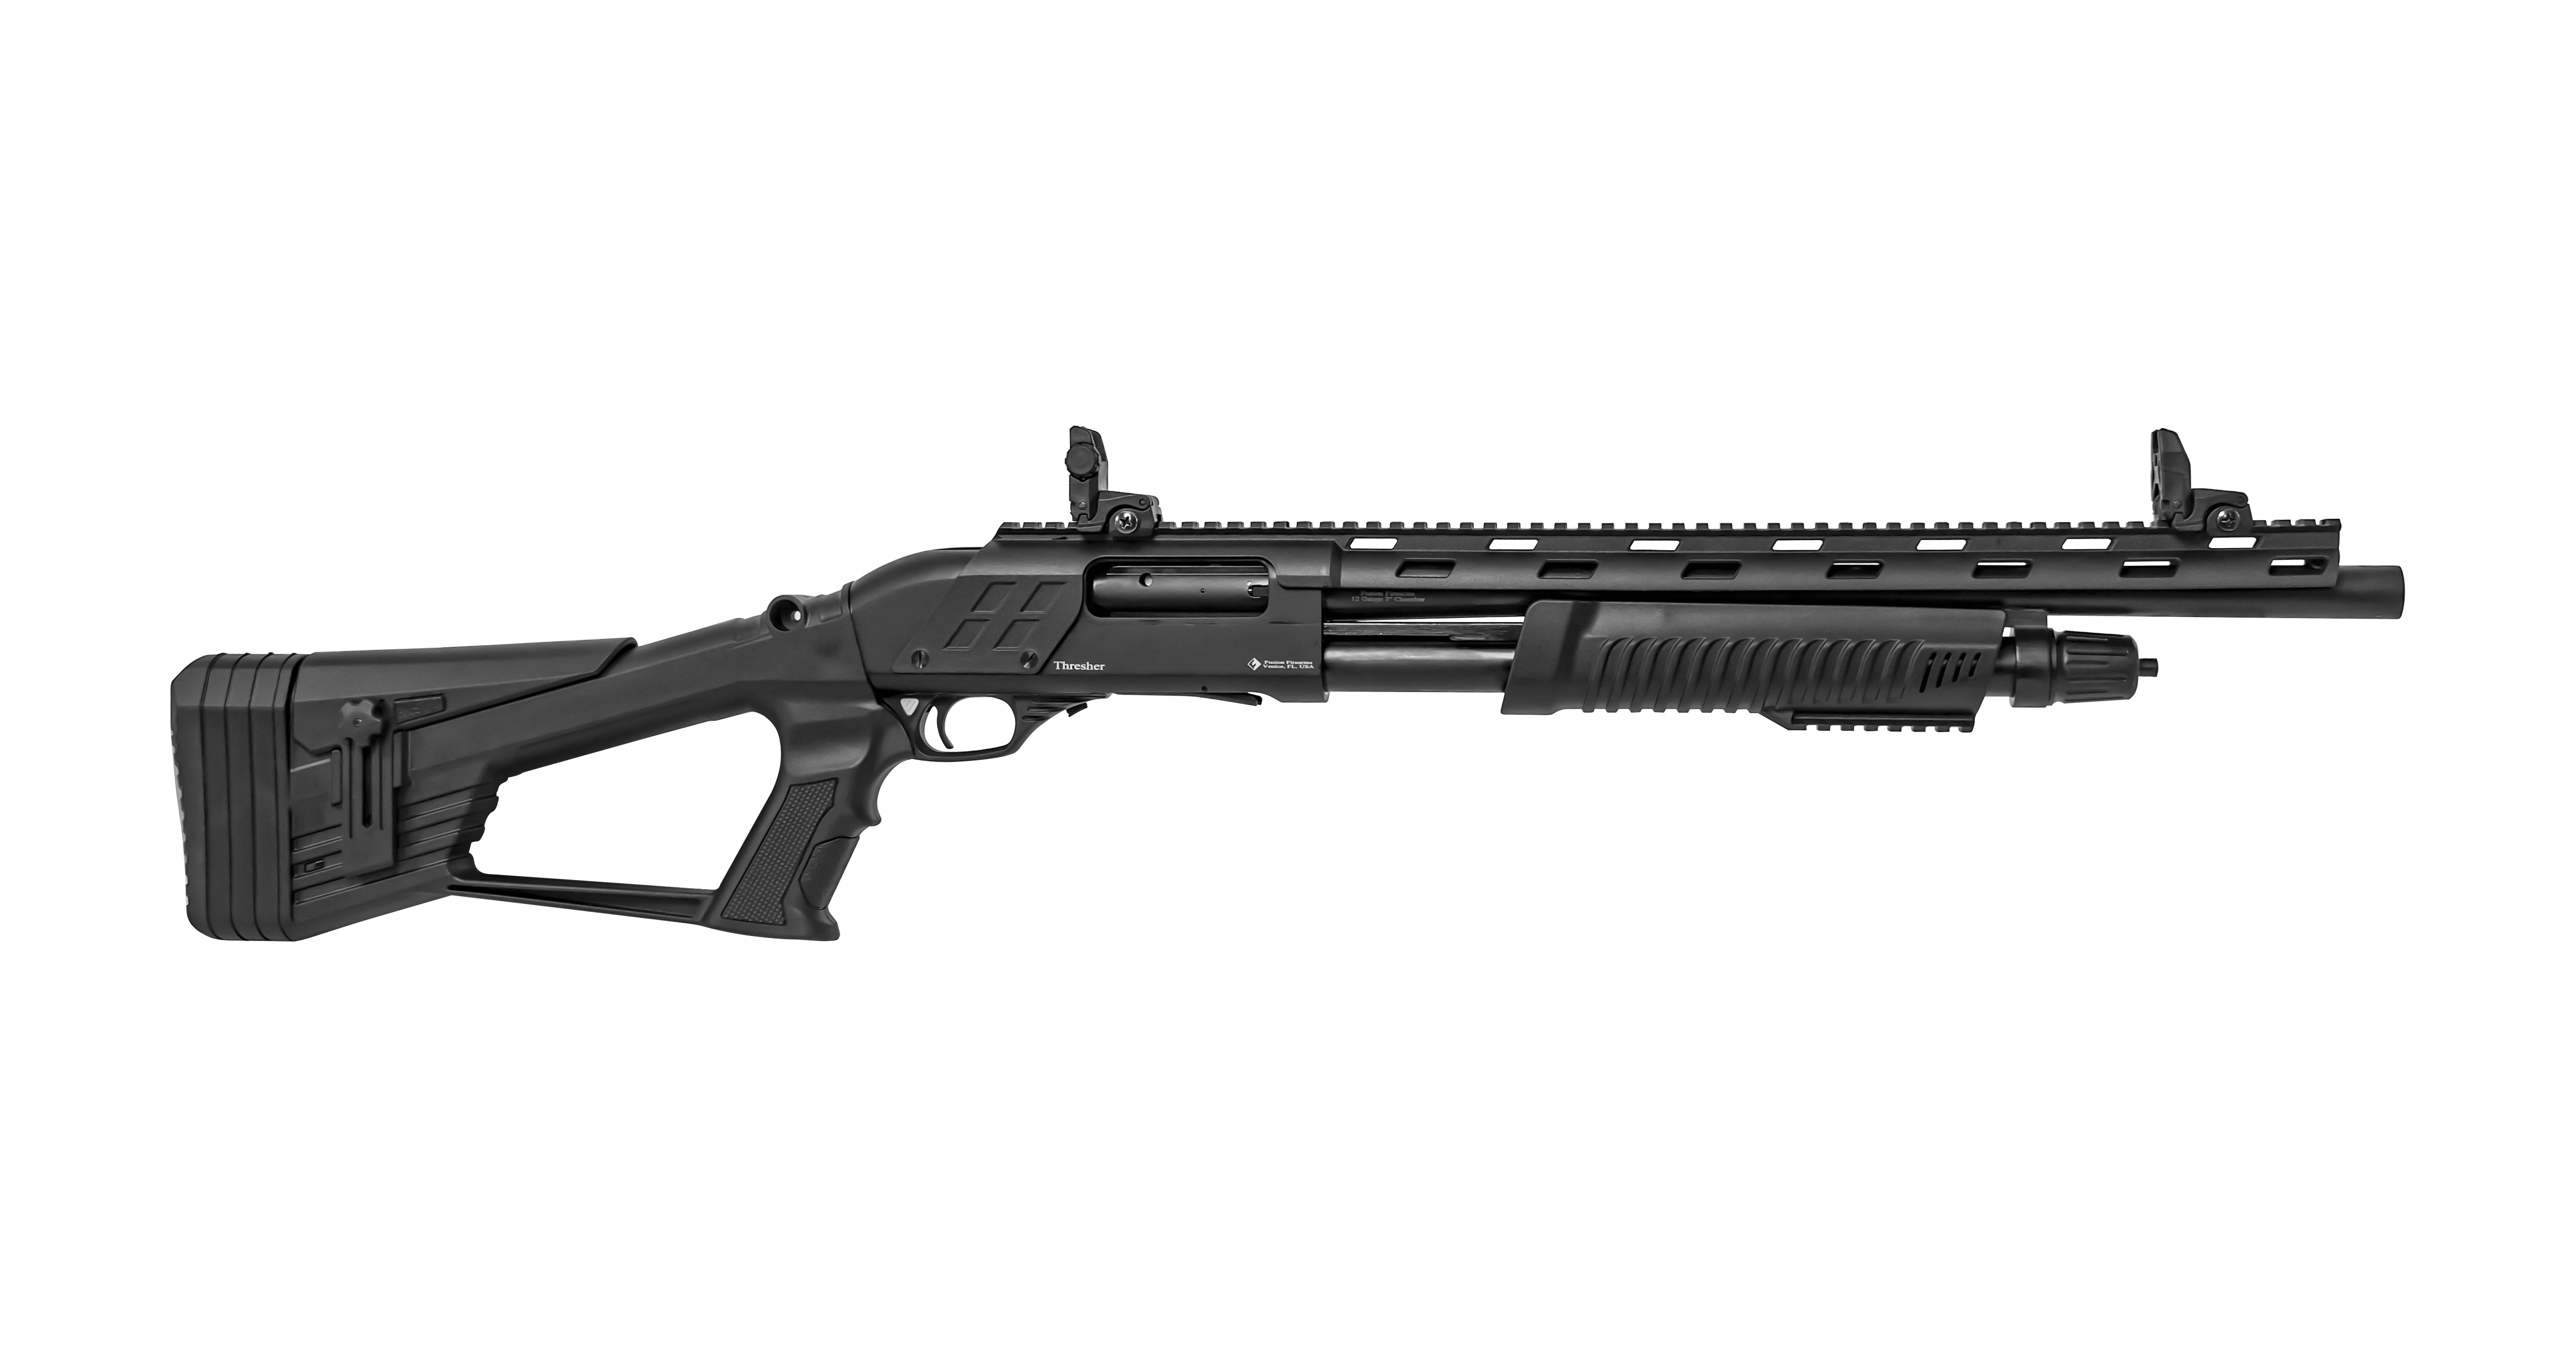
If your mount requires screws to attach to the receiver, use the appropriate torque settings as specified by the mount manufacturer. Over-tightening can strip threads or damage the receiver, while under-tightening will lead to a loose mount. It’s often recommended to use a small amount of blue Loctite (e.g., Loctite 242) on the screw threads to prevent them from vibrating loose under recoil. Apply it sparingly and allow it to cure according to the manufacturer’s instructions before proceeding.
For vent rib mounts, carefully position the mount on the rib and begin tightening the clamping screws evenly. Some mounts have a hinged design, while others use a screw-and-plate system. The goal is to achieve a firm, secure grip on the rib without deforming it. Again, check the manufacturer’s recommendations for tightening procedures. A slight wobble in the mount is unacceptable.
3. Mounting the Red Dot Sight
Once the base mount is securely attached to the shotgun, it’s time to mount the red dot itself. Most red dots come with their own integrated mounts or require specific rings to attach to the base mount. Refer to the red dot manufacturer’s instructions for precise mounting procedures.
- Positioning: Determine the optimal eye relief for the red dot. This is the distance between your eye and the sight where you can see the full reticle without obstruction. On a shotgun, this is often further forward than on a rifle due to the shooting stance and the nature of recoil. Experiment to find a comfortable and effective position.
- Securing the Red Dot: If your red dot uses a one-piece mount that attaches to the base, ensure it’s properly seated. If you’re using separate rings, mount the bottom half of the rings onto the base, place the red dot in them, and then carefully attach the top halves.
- Torque Specifications: This is where many go wrong. Most red dot manufacturers provide specific torque specifications for their mounting screws. Use a torque wrench and tighten the screws incrementally and evenly between the rings or mount. Over-tightening can stress the optic’s housing and internal components, leading to damage or misalignment. Under-tightening will result in a loose sight and potential zero loss. A common range for red dot mounting screws is between 15-25 inch-pounds, but *always* refer to your optic’s manual.
- Blue Loctite (Optional but Recommended): For extra security, a tiny amount of blue Loctite can be applied to the mounting screws after torquing. Ensure it doesn’t come into contact with the optic’s lens.
Calibration: Bringing Your Red Dot to Zero
Installation is only half the battle. Proper calibration, or “zeroing,” is essential to ensure your red dot accurately reflects where your shotgun’s shot will land.
1. The Importance of a Stable Shooting Platform
Zeroing requires a stable shooting platform to eliminate shooter error. This means resting your shotgun securely. A shooting rest, sandbags, or a bipod are ideal. Avoid hand-holding the firearm during the initial zeroing process.
2. Initial Zeroing Procedure (The “Bore Sight” Method)**
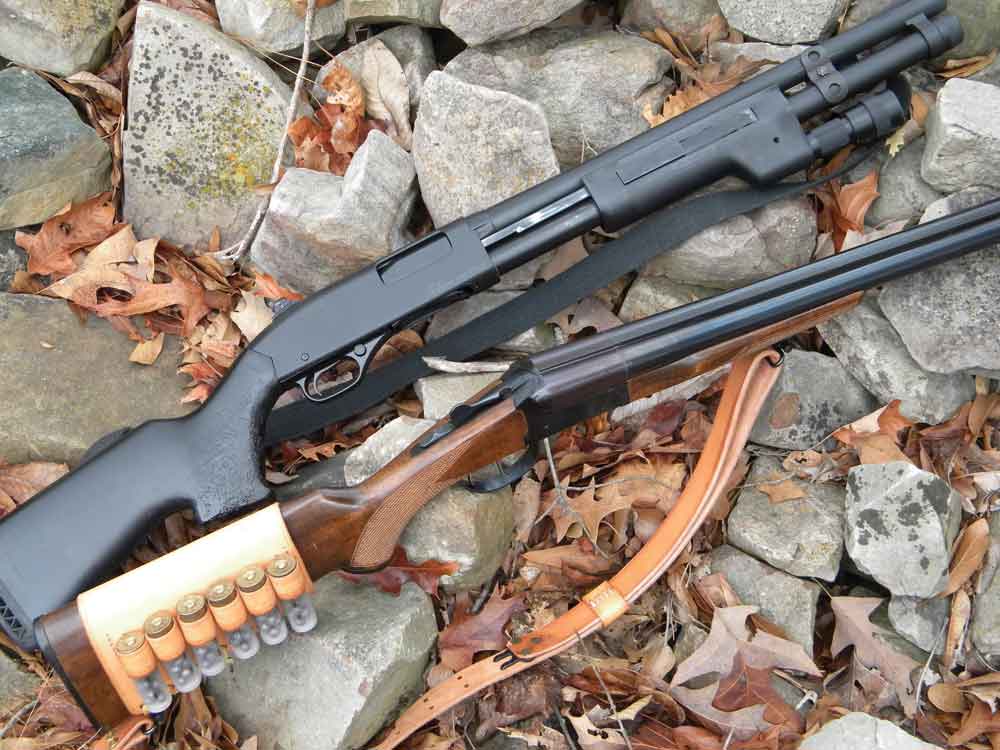
Before you even fire a shot, you can get your red dot very close to zero using a bore sighting tool. There are several types:
- Laser Boresighters: These insert into the bore or attach to the muzzle and project a laser dot. You can then adjust your red dot to align with this laser.
- Visual Boresighting: With the shotgun unloaded and action open, remove the bolt or bolt carrier group and look through the barrel from the breech end. Align the red dot’s reticle with the point you’re looking at through the barrel. This is less precise but can get you on paper.
This initial step significantly reduces the number of shots needed to zero at the range, saving time and ammunition. Align the laser dot (or your visual alignment) with a target at your desired zero distance (commonly 25 yards for shotguns). Then, adjust the red dot’s windage and elevation turrets until the reticle is also centered on that same point.
3. Live Fire Zeroing: The Range Test
Now it’s time to head to the range. Choose a safe range with an appropriate backstop. Your zero distance will depend on the intended use of your shotgun. For general purposes and most hunting scenarios, 25 yards is a common and effective zero. For some tactical applications, 50 yards might be preferred.
- Target Setup: Place a large target with a clear aiming point at your chosen zero distance.
- First Shots: From your stable shooting platform, fire three to five shots at the target, aiming at the bullseye. Ensure your firing process is consistent.
- Assessing the Group: Observe where your shots are impacting relative to your aiming point. Collect your shots if possible to establish a group. Even with a red dot, shotgun slugs or buckshot can have some spread at distance.
- Adjusting Windage and Elevation: Your red dot will have external adjustment turrets, usually marked with “W” (windage) and “E” (elevation), or “H” (horizontal) and “V” (vertical). Each click represents a specific adjustment (e.g., 1 MOA, which is approximately 1 inch at 100 yards). Your red dot’s manual will specify what each click does.
- Example: If your shots are grouping 4 inches high and 2 inches to the left of your aim point at 25 yards, and your red dot adjusts 1 MOA per click, you would need to adjust elevation up by roughly 4 clicks and windage right by roughly 2 clicks (since 1 MOA at 25 yards is about 0.25 inches, so 4 inches is roughly 16 clicks, and 2 inches is roughly 8 clicks. *Note: MOA adjustments are relative to distance, so it’s crucial to know your optic’s specified MOA per click value.* A more practical approach is often to count the number of clicks needed to move the impact point by a measurable amount, like an inch, on the target and then extrapolate.
- Fine-Tuning: Make small, incremental adjustments. Fire another small group of shots after each adjustment to verify the impact. Continue this process until your shots are consistently hitting your point of aim.
4. Understanding Shotgun Ammunition and Zeroing
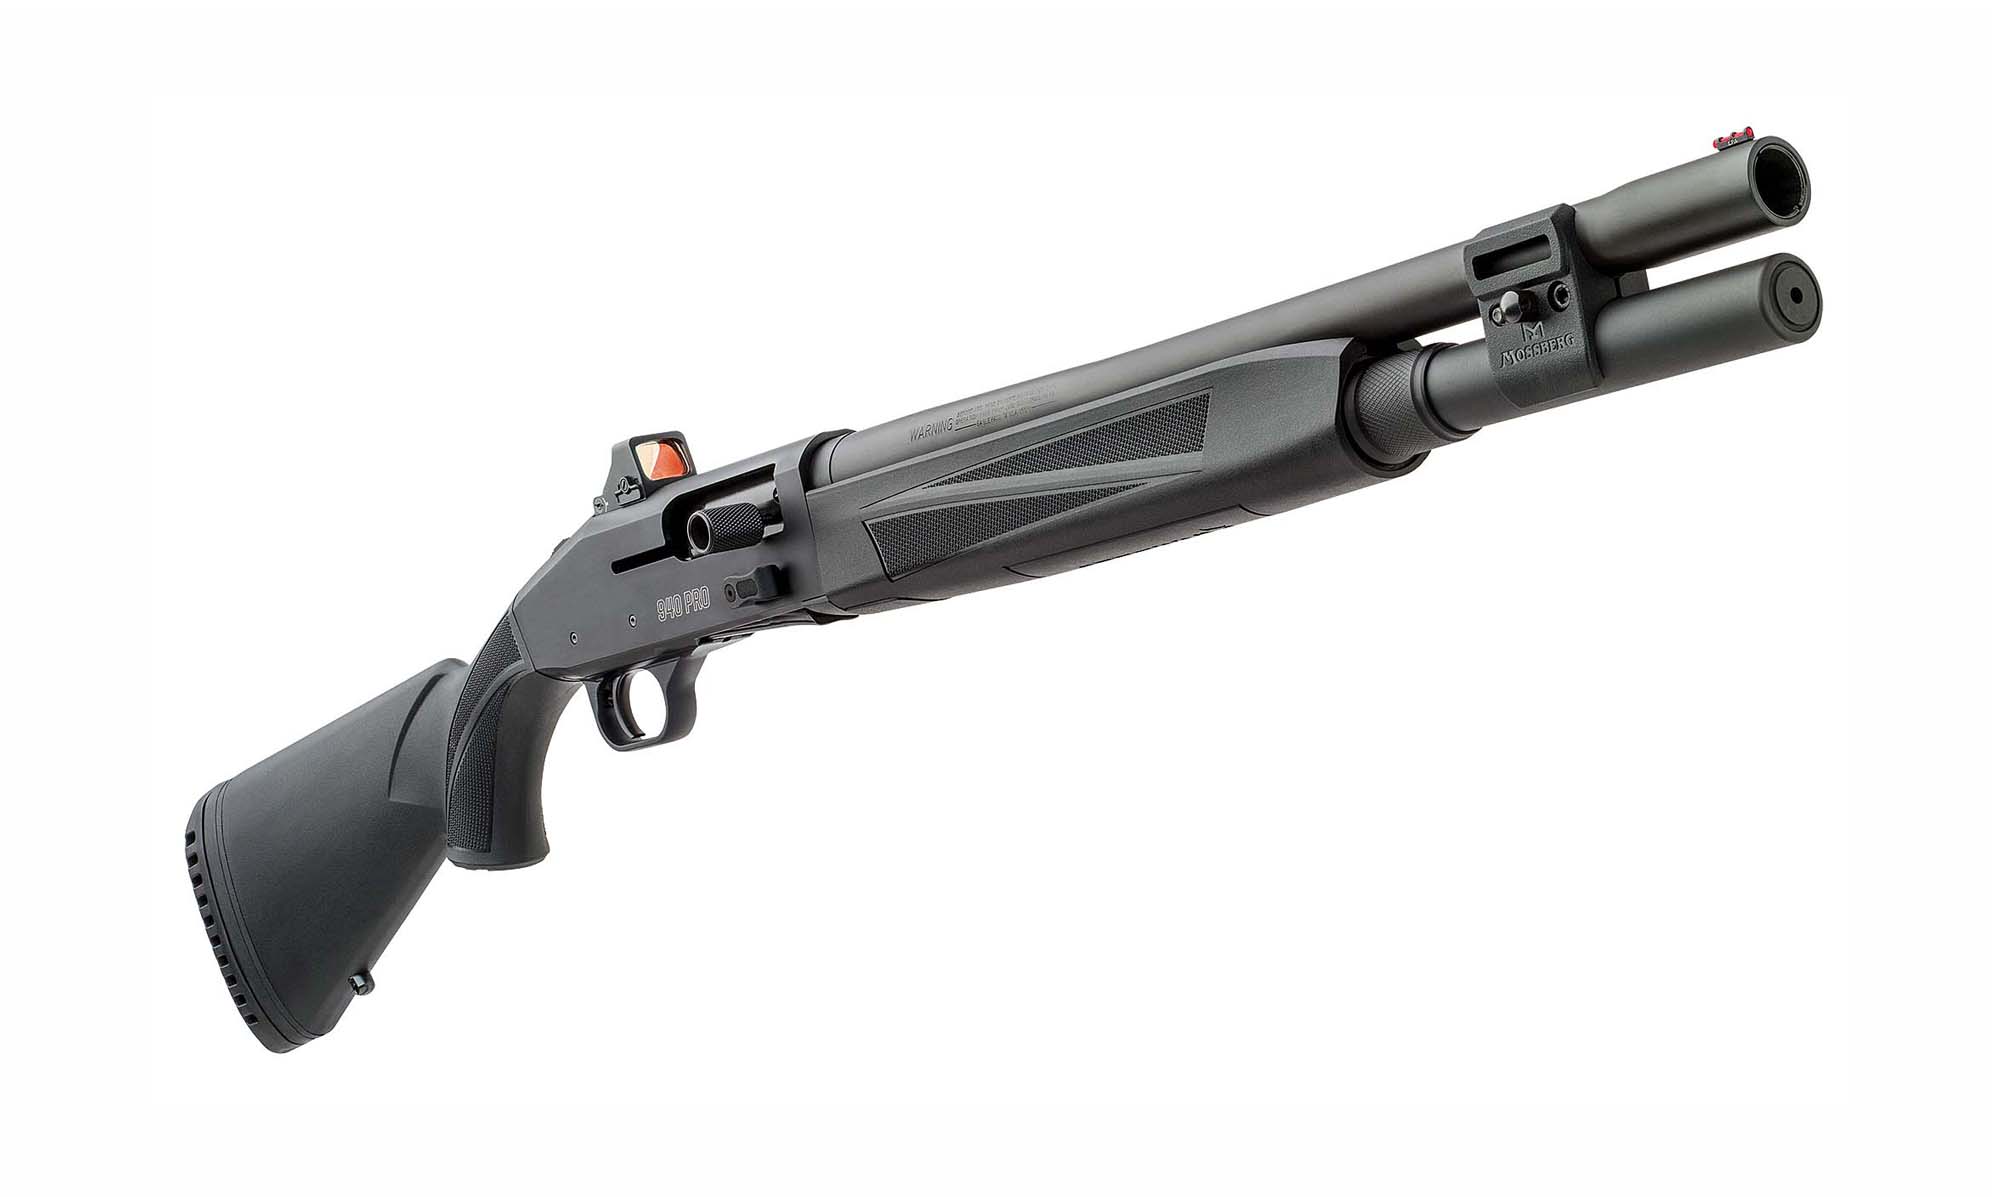
A critical factor often overlooked is that different types of shotgun ammunition will have different points of impact, especially at range. A slug will behave very differently from buckshot or birdshot. Therefore:
- Zero with Your Primary Ammunition: It’s crucial to zero your red dot with the specific type of ammunition you intend to use most often.
- Multiple Zeroes: If you frequently switch between slugs and buckshot, consider establishing a separate zero for each. This might involve re-zeroing the sight or using a mount that allows for quick detachment and reattachment of the red dot to maintain its zero.
- Range of Effectiveness: Understand the effective range of your chosen ammunition. A red dot is a valuable tool, but it doesn’t magically extend the ballistics of a shotgun slug beyond its designed capabilities.
Advanced Tips and Troubleshooting

Even with careful installation and zeroing, you might encounter issues. Here are some advanced tips and common troubleshooting solutions:
- Recoil Spring Assemblies: Some semi-automatic shotguns have recoil spring assemblies in the stock or forearm. Ensure these are properly seated and functioning, as they play a role in mitigating recoil and maintaining firearm stability.
- Barrel Attachments: For shotguns without a Picatinny rail, vent rib mounts are common. Ensure the rib itself is securely attached to the barrel. A loose vent rib can compromise the accuracy of any mounted optic.
- Battery Issues: If your red dot isn’t powering on, check the battery. Ensure it’s correctly inserted and that the contacts are clean. Try a fresh battery from a reputable brand.
- Illumination Problems: If the dot is dim or flickers, it could be a low battery or a loose battery connection. Some sights have issues with certain battery brands or types.
- Drift and Shift: If you notice your zero drifting significantly after a few shots, re-check the tightness of your mount and red dot screws. Ensure you are not inadvertently bumping the adjustment turrets.
- Magnification: While not standard on most shotgun red dots, if you are using a magnified optic with a red dot, eye relief and proper mounting become even more critical due to the increased magnification.
- Weather Conditions: Extreme temperatures and humidity can sometimes affect the performance of electronic sights. Ensure your sight is rated for the conditions you’ll be operating in.
The Path to Enhanced Accuracy
Installing and calibrating a red dot sight on your shotgun is a rewarding process that significantly enhances its effectiveness. By following these detailed steps, paying close attention to torque specifications, and understanding the nuances of ammunition and zeroing distances, you can ensure your red dot is a reliable and precise aiming solution. Remember, patience and methodical execution are key. Take your time during installation, be deliberate during the zeroing process, and always prioritize safety. A properly mounted and calibrated red dot sight will transform your shotgun, offering faster target acquisition, improved accuracy, and greater confidence in your ability to hit your mark, whether on the hunt, the competition range, or in a defensive situation.